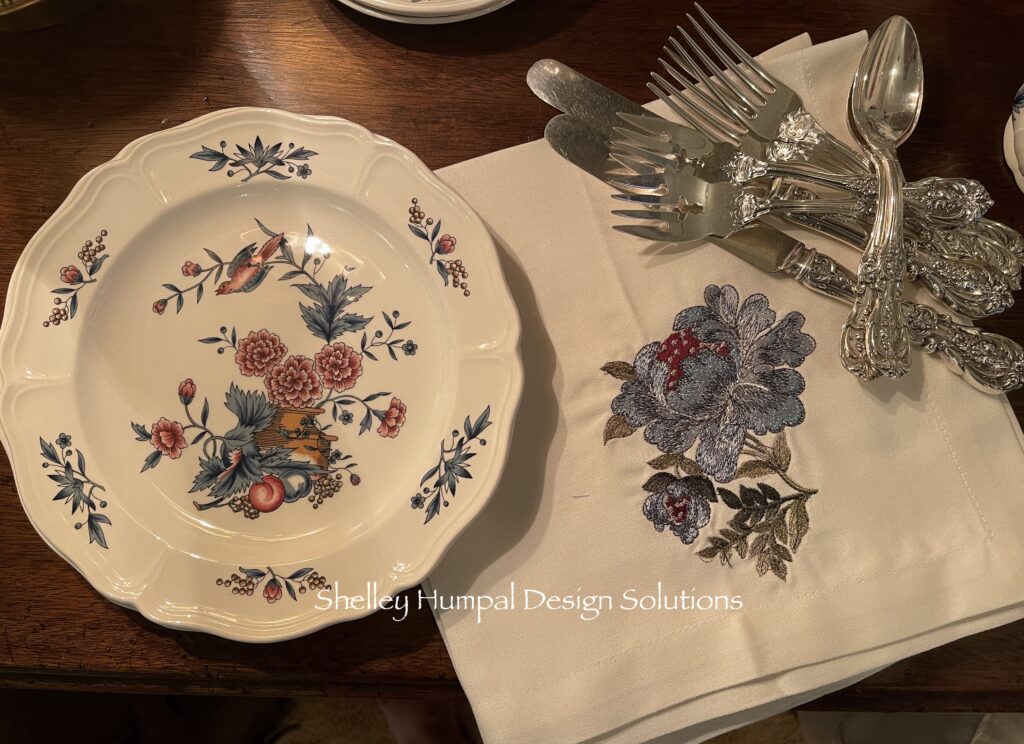
Have you ever looked at a table setting in a magazine and thought I want that? For me it isn’t so much about the dishes, ok it really is but, mostly it’s the details. The table scape, the candlesticks, the flatware and oh those linens. Those gorgeous embroidered napkins. I love the monogramed ones but, they are a bit pretentious for my very humble abode. The ones that send me are those napkins that have those delicious floral designs tucked into the corner. You’ve seen them, the napkins if you were to buy them would cost around 25.00 a piece. Needless to say I can’t do that. Ever wonder how this gorgeous high end napkins are made? I’m going to show you.
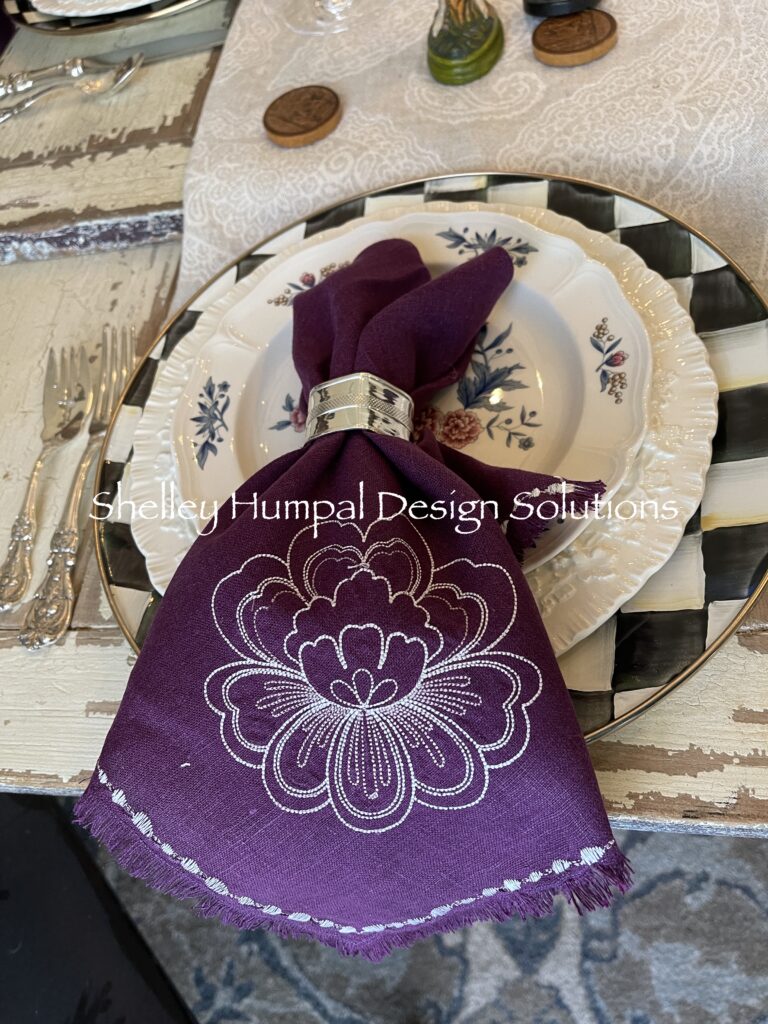
I mentioned in the last Easter table scape post that I wanted to embroider some napkins for a vintage placesetting that I decided to use for my Easter table. You can read about that here. I couldn’t get my sewing machine to talk to my USB stick where I had downloaded my embroidery design, so I settled on a design that was already in my machine. The napkins turned out great in eggplant colored linen I will use them with a couple of different dish patterns. But, it wasn’t my vision.
A trip to the Bernina Store and a drop off of my machine for a cleaning and it turned out I just needed a software update and my USB stick was too big. Armed with a new USB stick and a freshly cleaned machine I decided to try again.
To start this project you will need
- A sewing machine with an embroidery module.
- Your design downloaded to your USB Stick and Computer
- Embroidery Needles
- Embroidery hoop to fit your design and sewing machine
- Napkin Blanks
- Thread of your choice. The design will come with recommendation threads to create your design. I always end up changing the colors.
- Tear Away Stabilizer
- Light Tack Adhesive Spray
- Basic Sewing Tools
- Small Curved Embroidery Scissors
I highly recommend that you “audition” your design before you start on your napkins, particularly if you change your thread colors. You should have some inexpensive cotton on hand just for “thread play”.
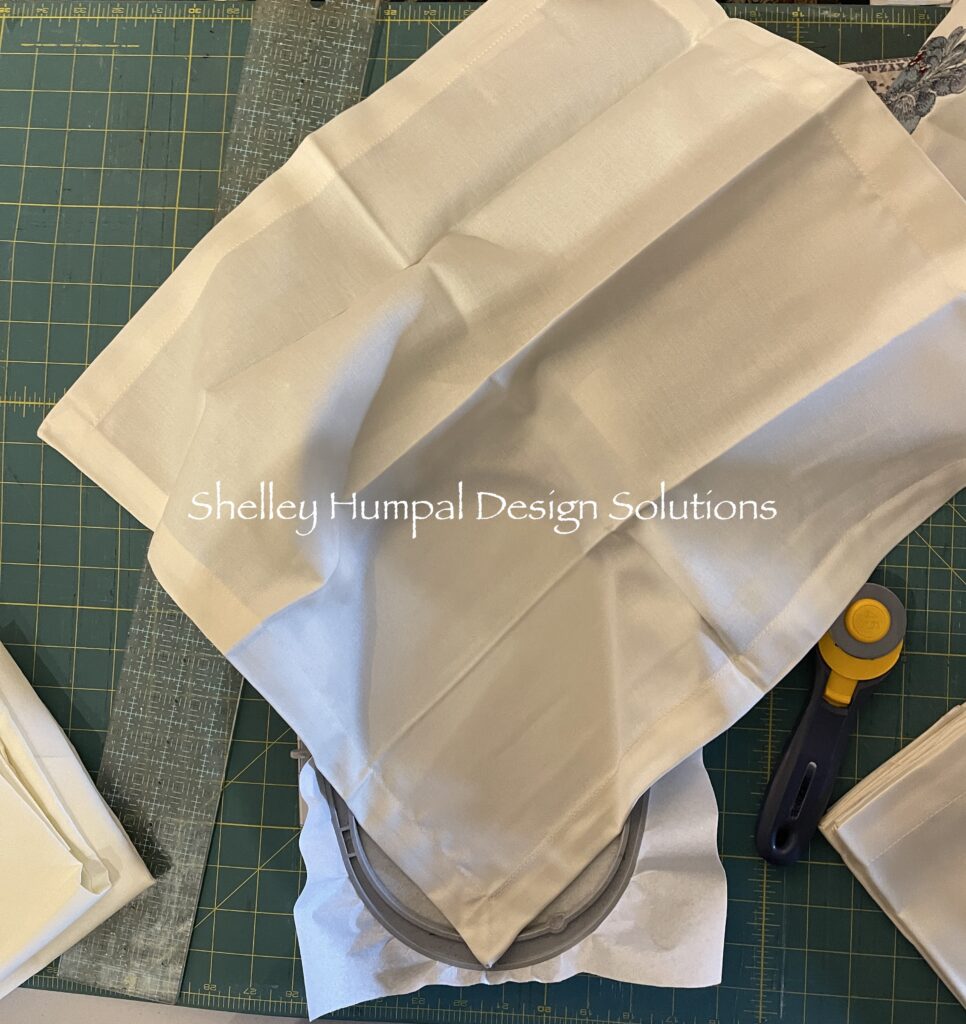
Prepare your hoop by placing the stabilizer in it. Tighten. My hoop has arrows that tells you how to line up the hoop.
Spray stabilizer with your adhesive and float the napkin over your hoop and position your napkin. I place the point of my napkin on that arrow.
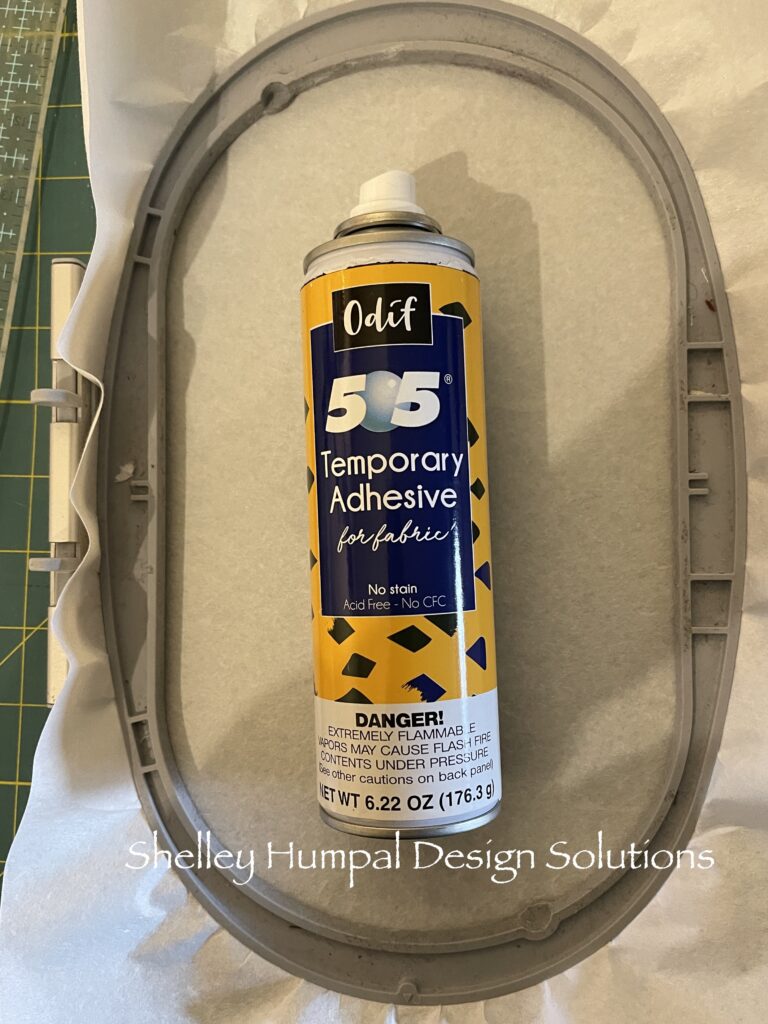
Press down onto stabilizer. This position is only if you want your design in the corner of your napkin. If you want it on the square you will place it differently.
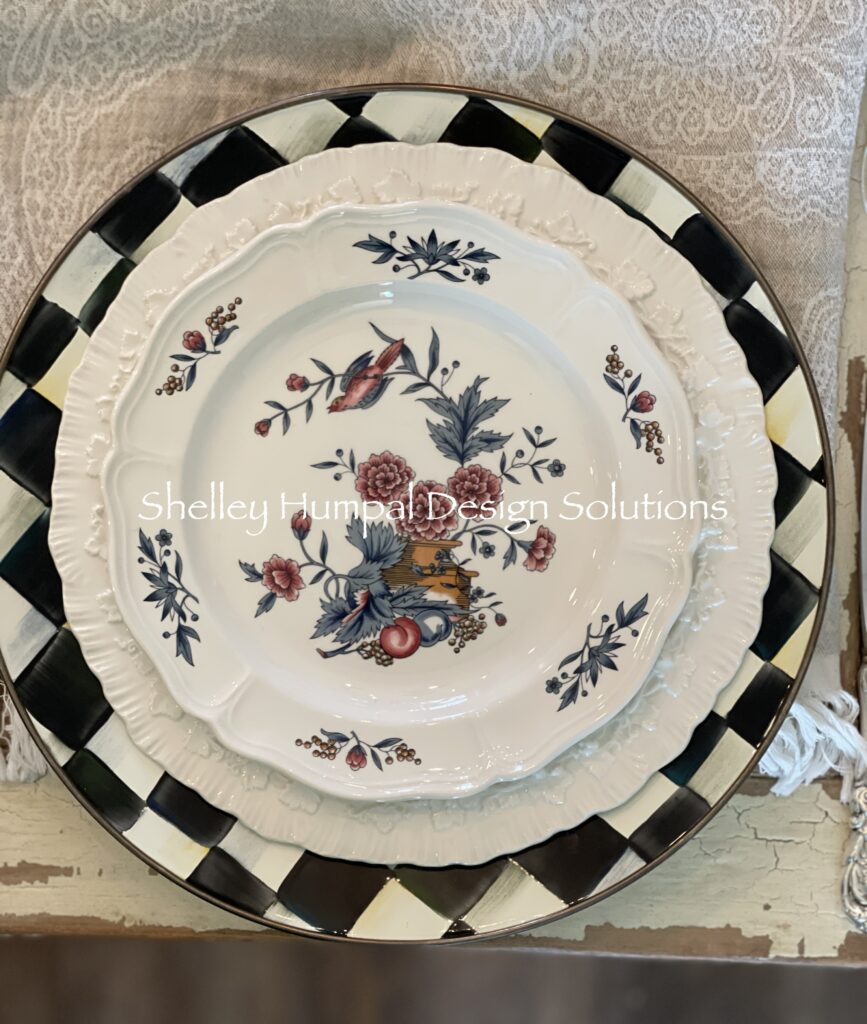
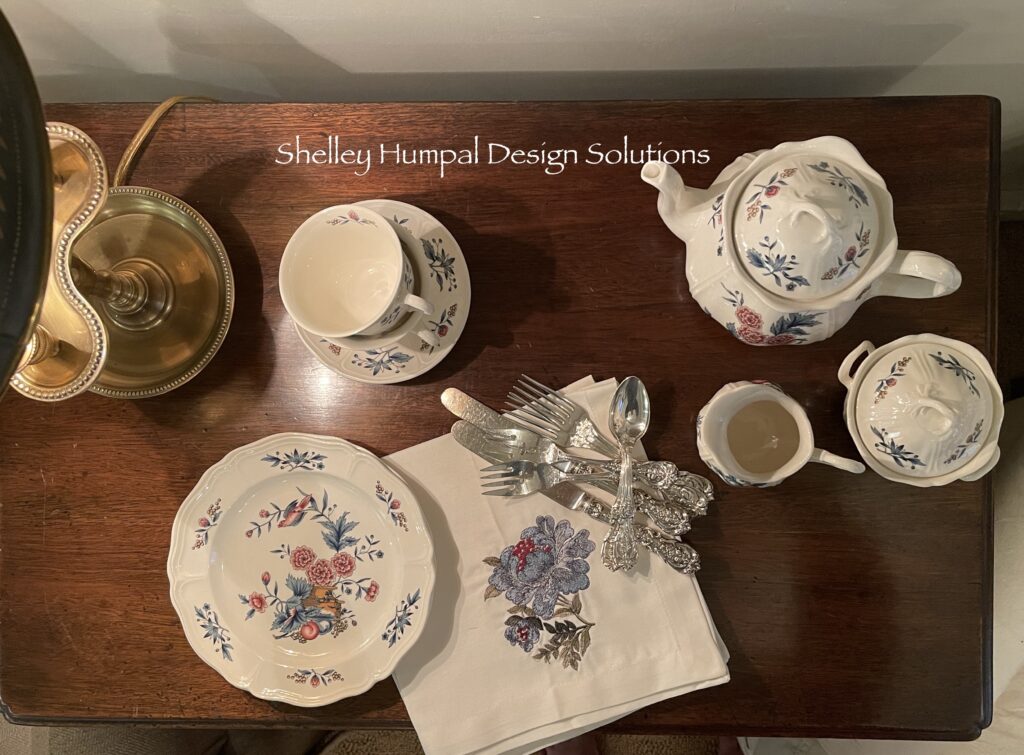
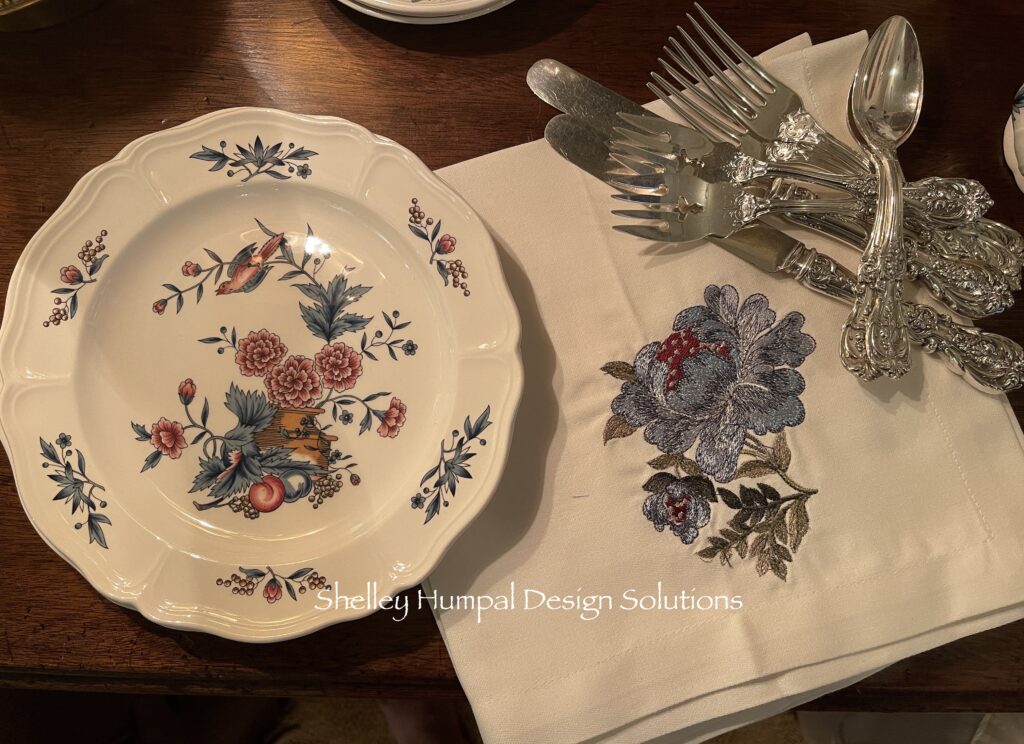
In making the thread selection I let my plate do the talking. I wanted the napkins to compliment the dishes not match. The colors in my plate where blue grey to blue and rose to burgundy on a cream background.
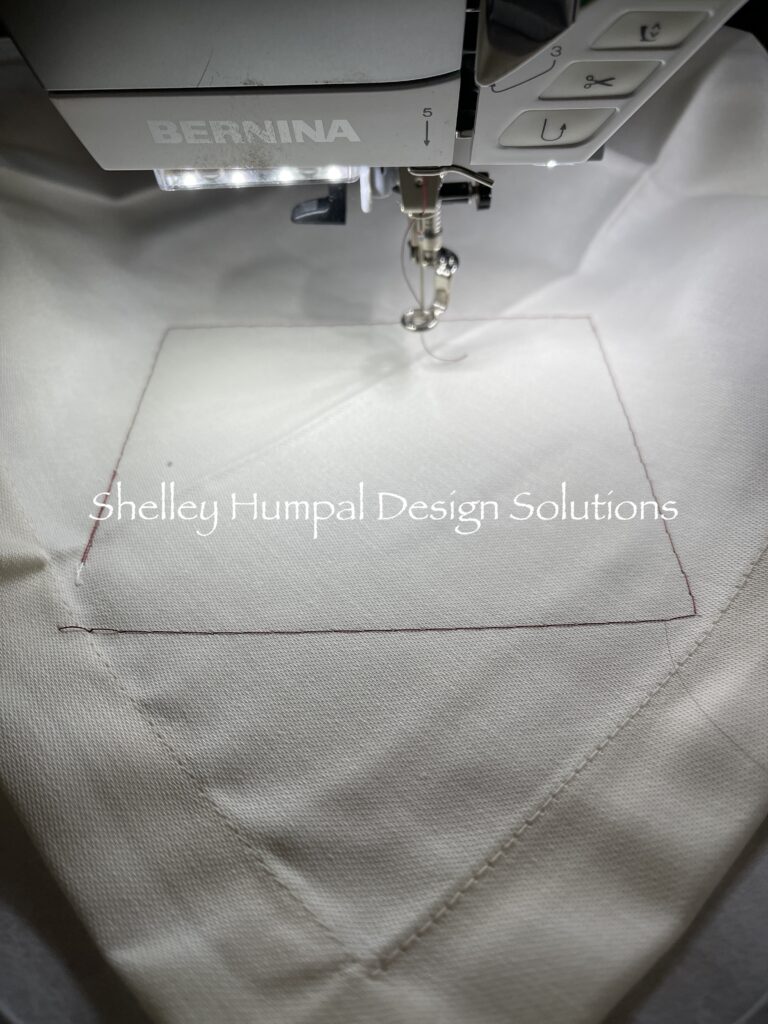
My design told me I needed 15 thread colors for my pattern. I didn’t use that many colors. I used 9 colors and repeated some of them. It is all about nuance as it is with painting. Let your machine be your guide. Be sure to do the tack down stitch first so you are securing the napkin to the stablizer.
The first stitch out was the flower center which I did in cranberry, the darkest color in the dishes. Next was the leaf structure. I started with a soft taupe.
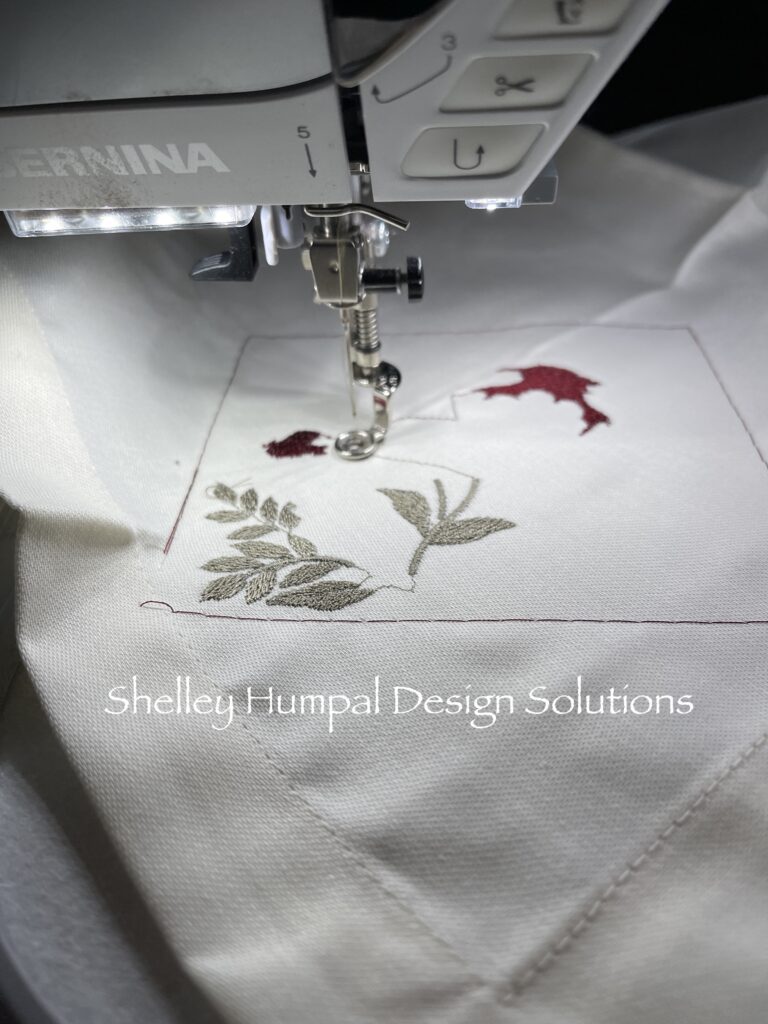
With the next stitch out I selected an olive green which created a very subtle shadow over the leaf. Next step it was more shading so I went just a bit darker green.
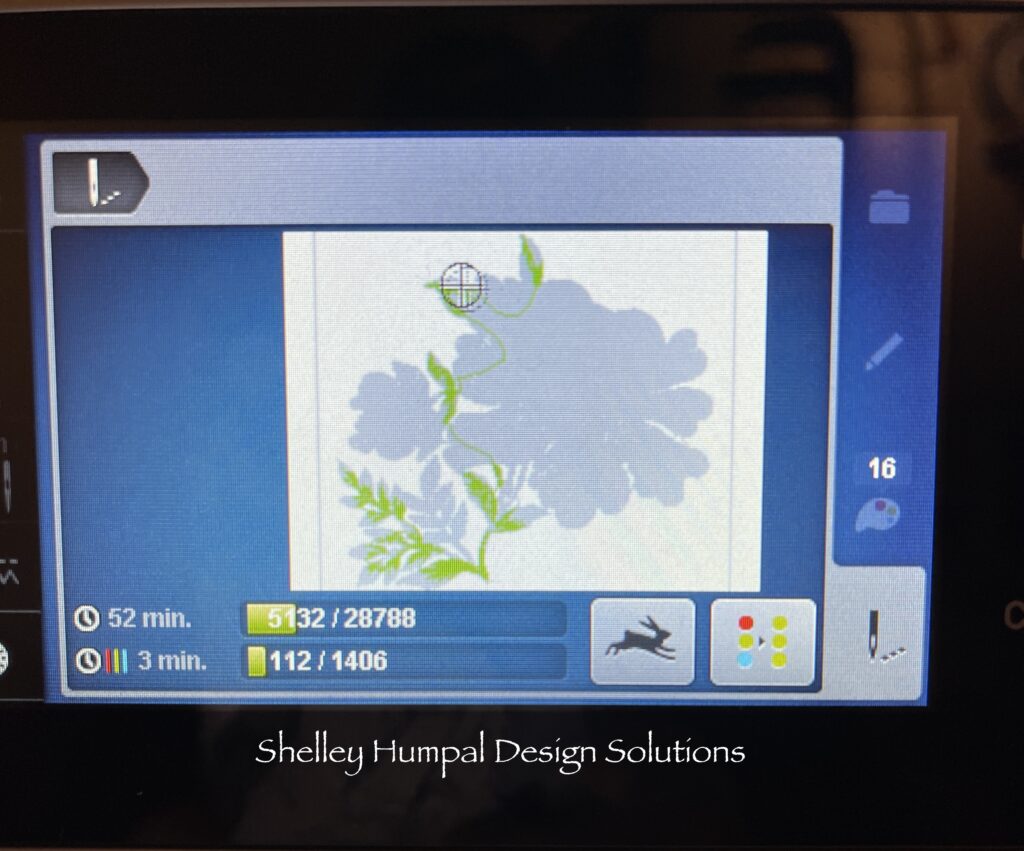
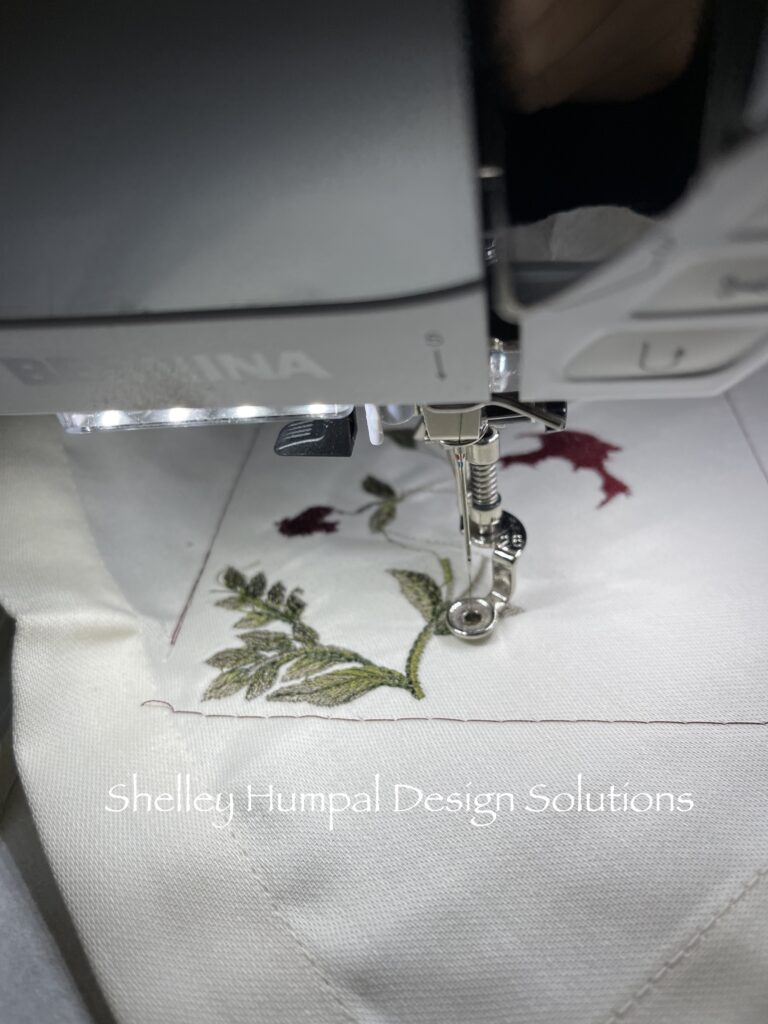
Step 5 was a different set of leaves so I used the same green as in the last “shadow stitch out” for contrast, and then moved to an even darker green thread for the shadow on the darker leaves. Now things are beginning to take shape.
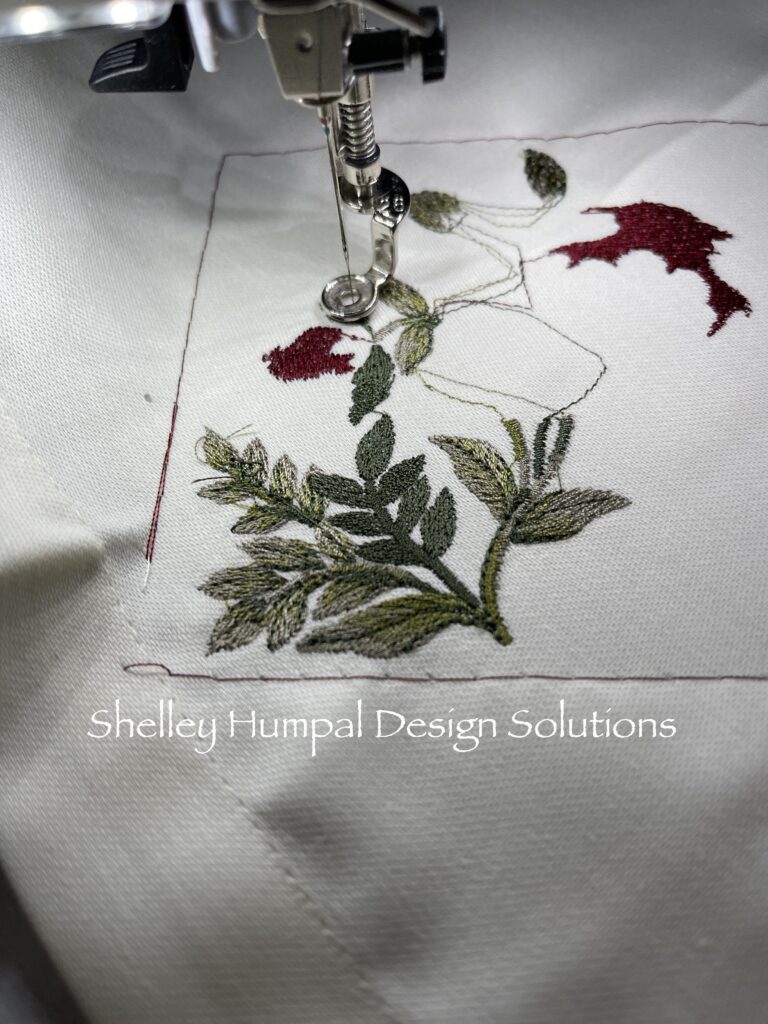
The flower petals were the bulk of the design. I started with a medium gray.
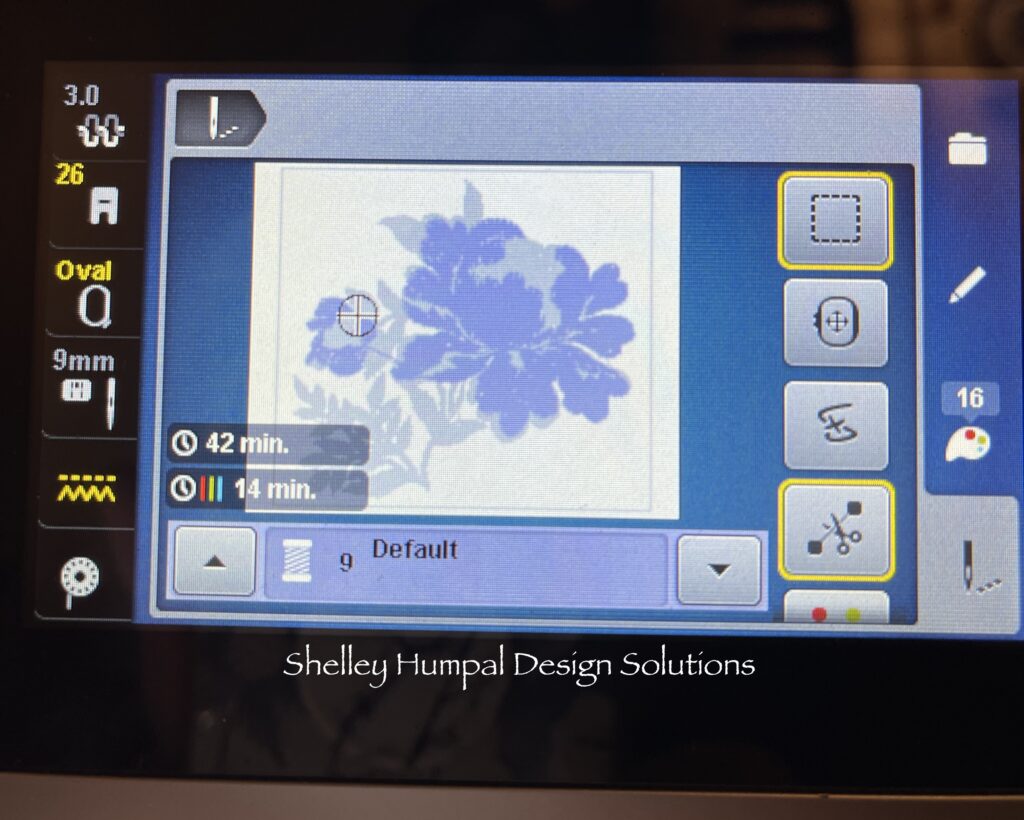
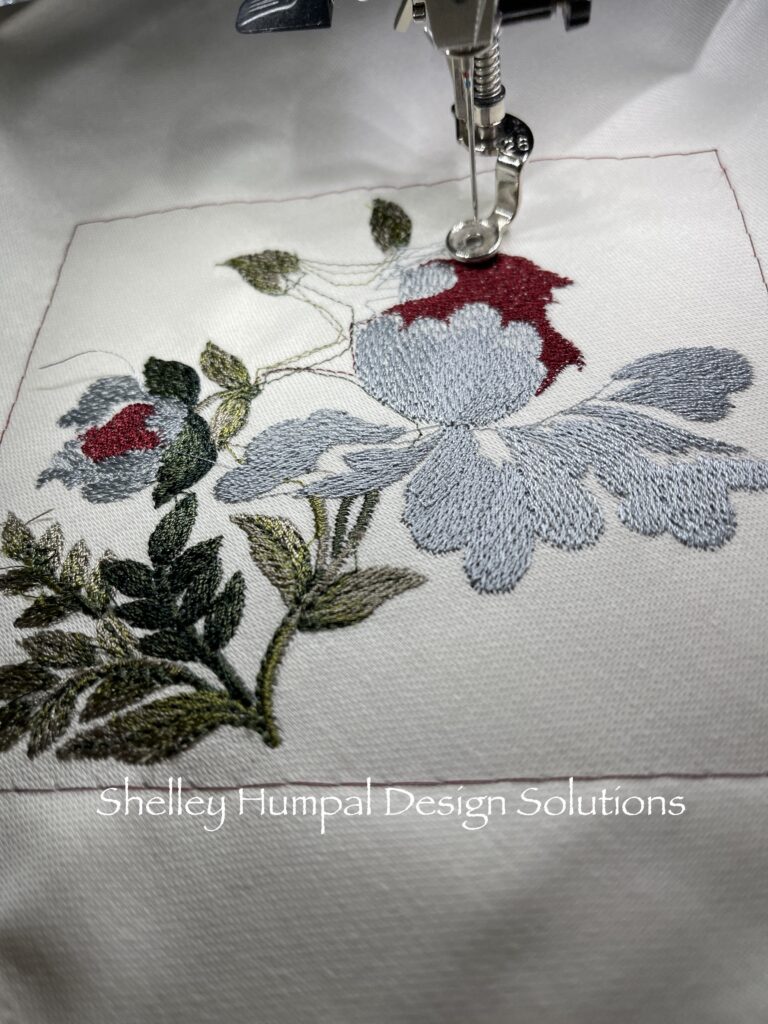
Moved to an aqua blue which created a subtle shading on the petal. I was worried about the aqua frankly because it was a color I had in my stash and didn’t really go with anything. I had forgotten to buy a soft blue and didn’t feel like jumping back in the car. I followed my instincts though and I’m so glad I did.
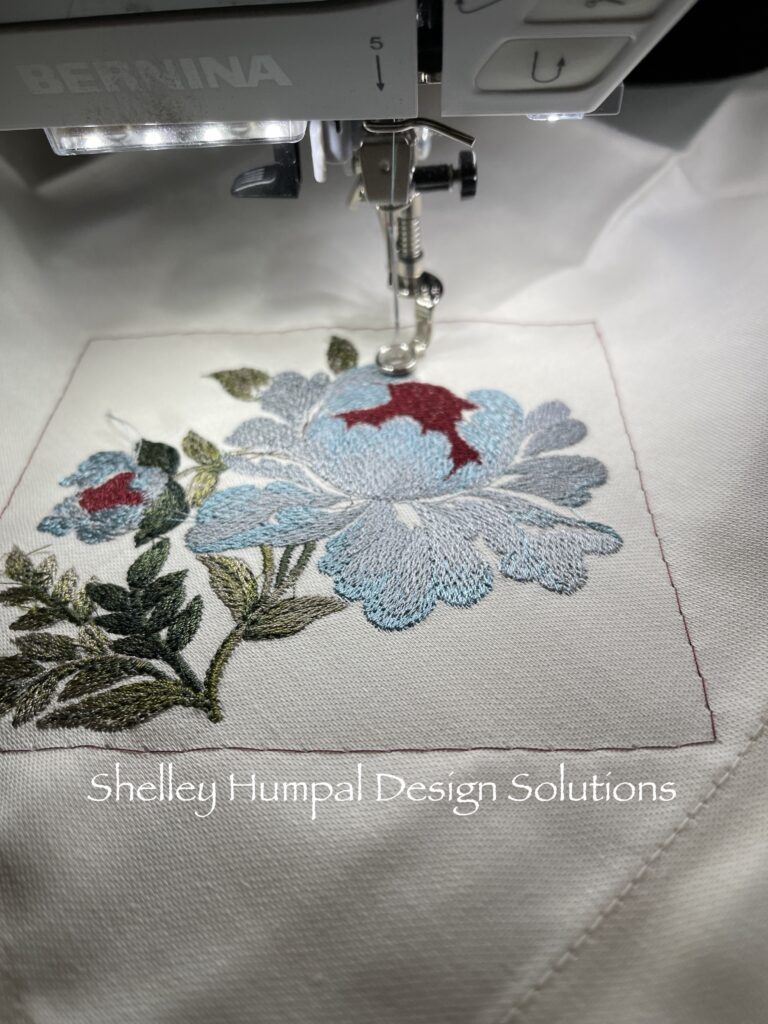
The “sketch” stitches became a darker blue. Now we are beginning to really see how the nuances of what the thread can do.
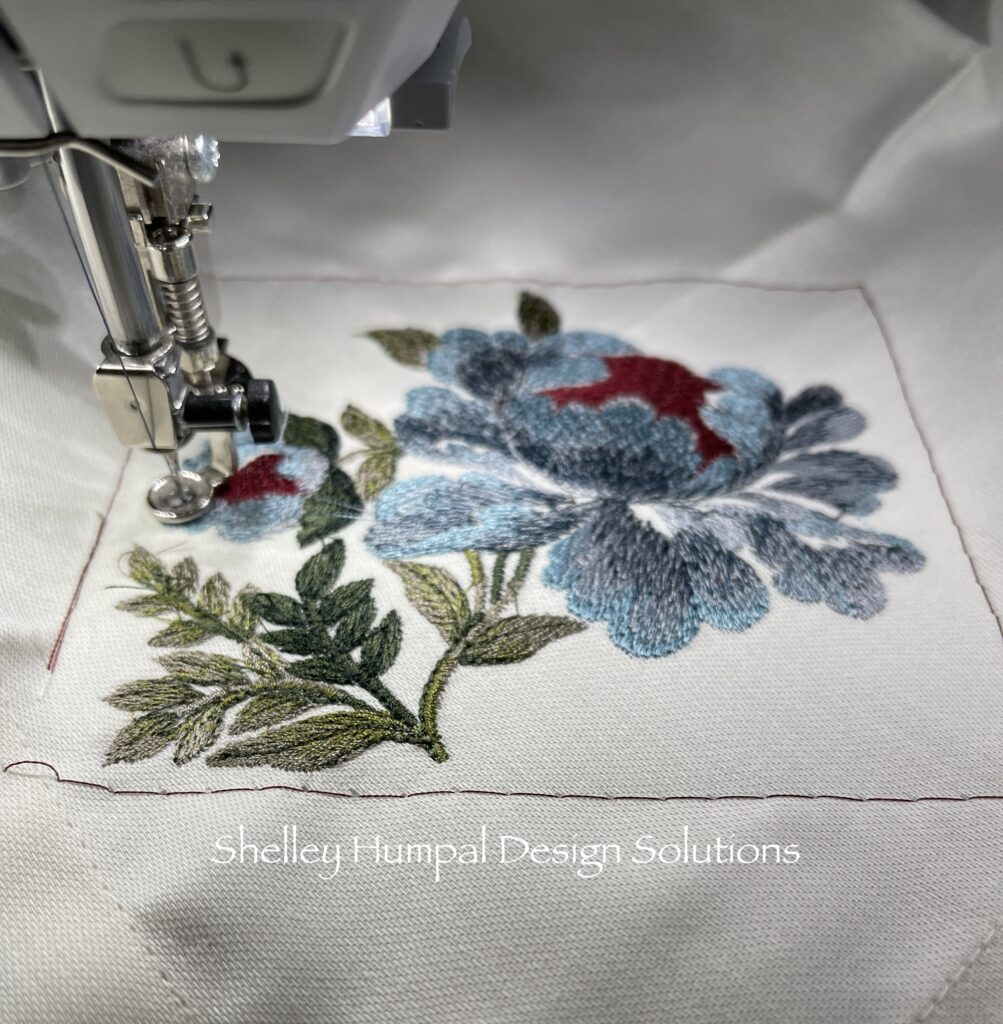
The next step required highlights so I chose a very light gray.
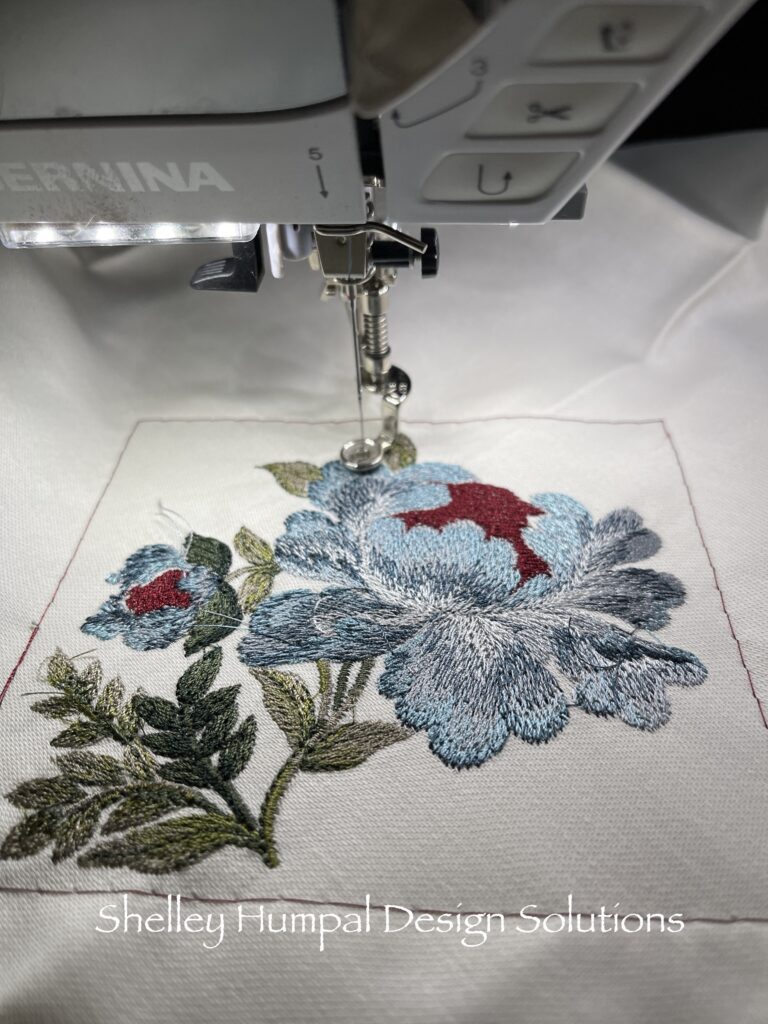
Came back with more dark blue for more shadow sketches.
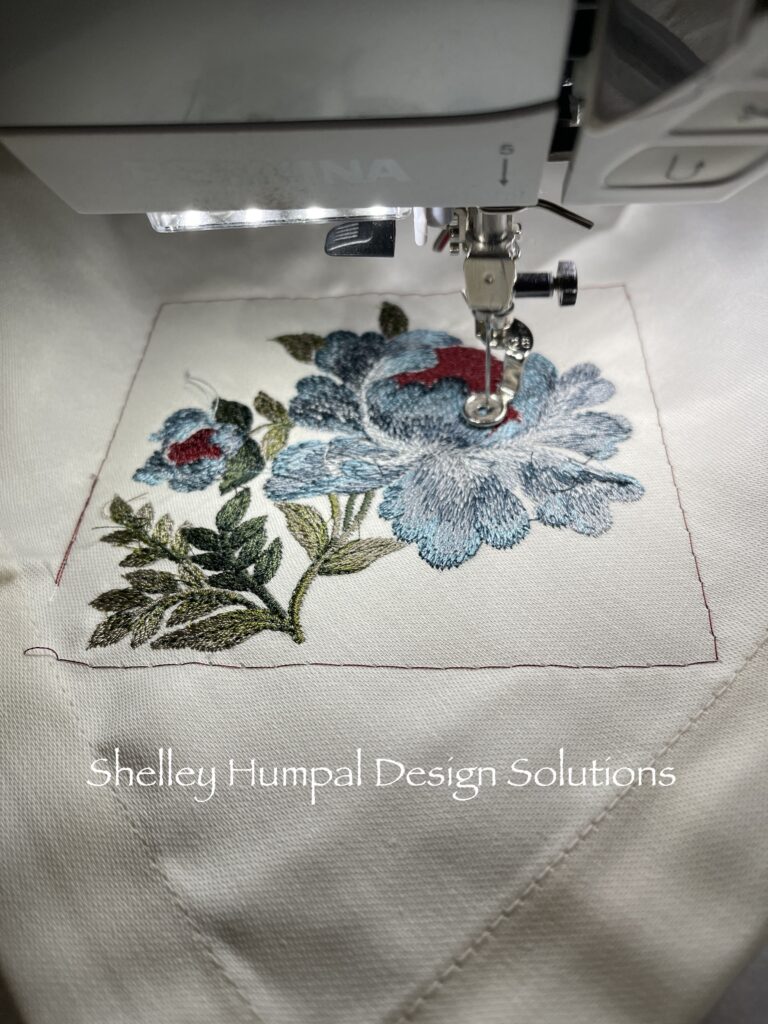
Light gray again to create the dots in the center of the flower
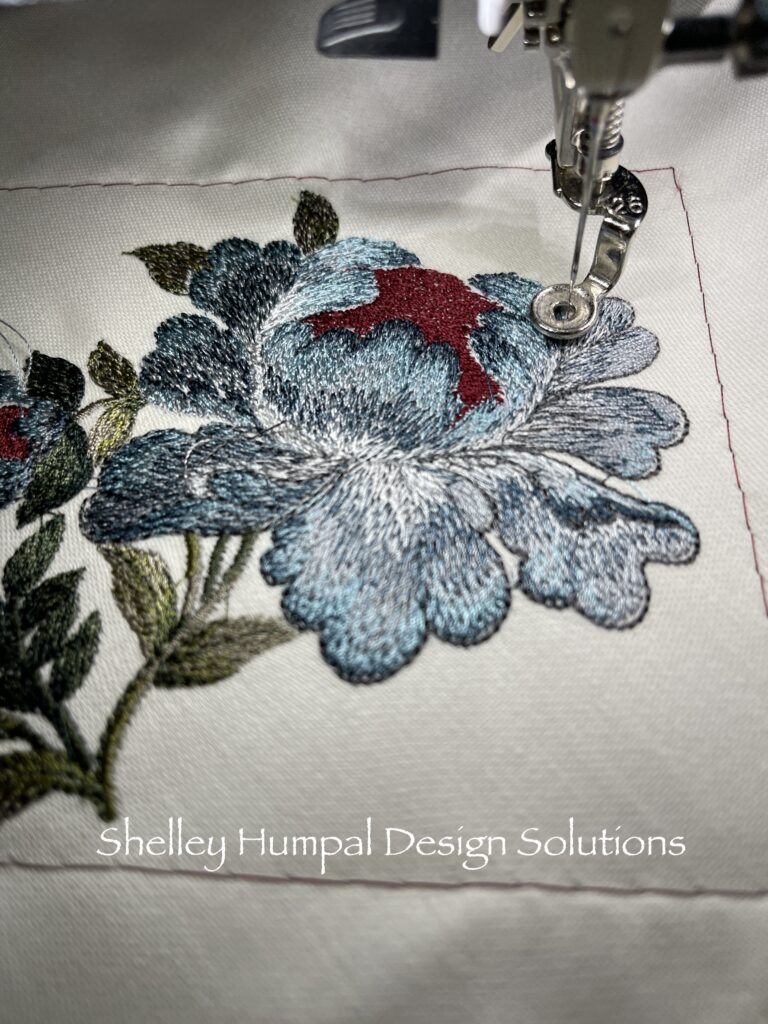
Finished with a dark Gray to outline the flower.
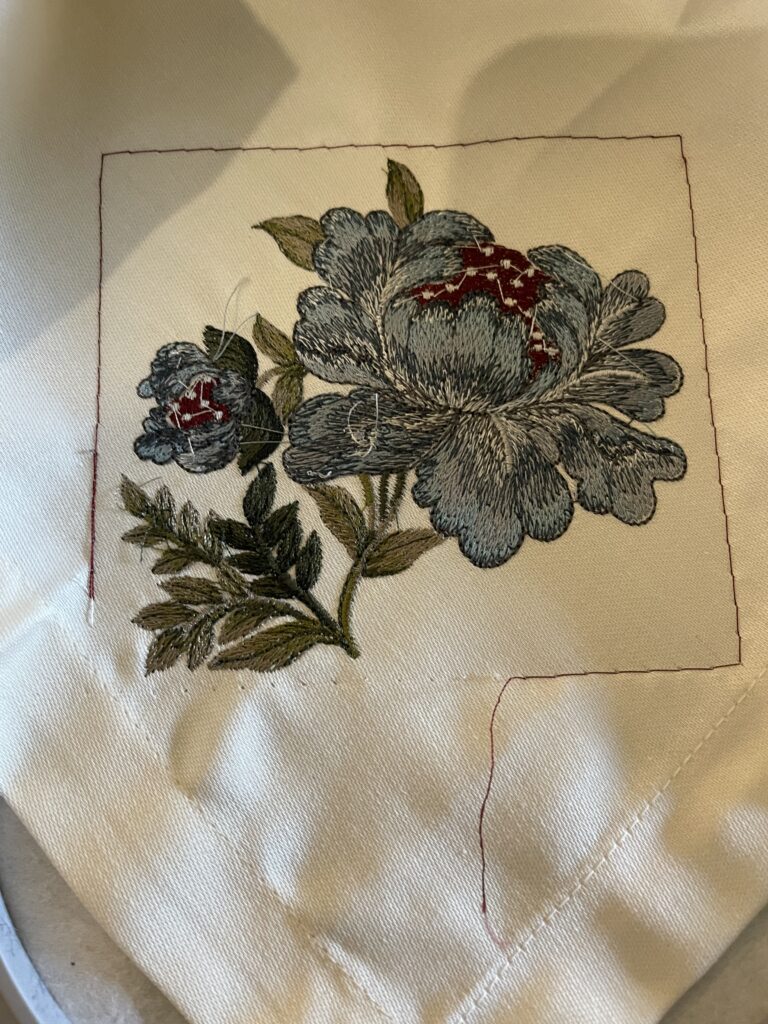
After completing your napkin remove the hoop from the module, carefully tear away the stabilizer. There will be areas where you will want to cut it away. The stabilizer will soften and dissipate with washing.
There is something so satisfying about watching the module stitch out a design. If you haven’t ever machine embroidered there is an ugly stage. Your first instincts are STOP you don’t know what you’re doing. Of course the machine DOES know what it is doing after all it is computerized and it does all the heavy lifting. The machine will use traveling stitches and stitches that go back and forth to create a foundation for the design. Like painting with chalk paint, you have to trust that the final result will be spectacular.
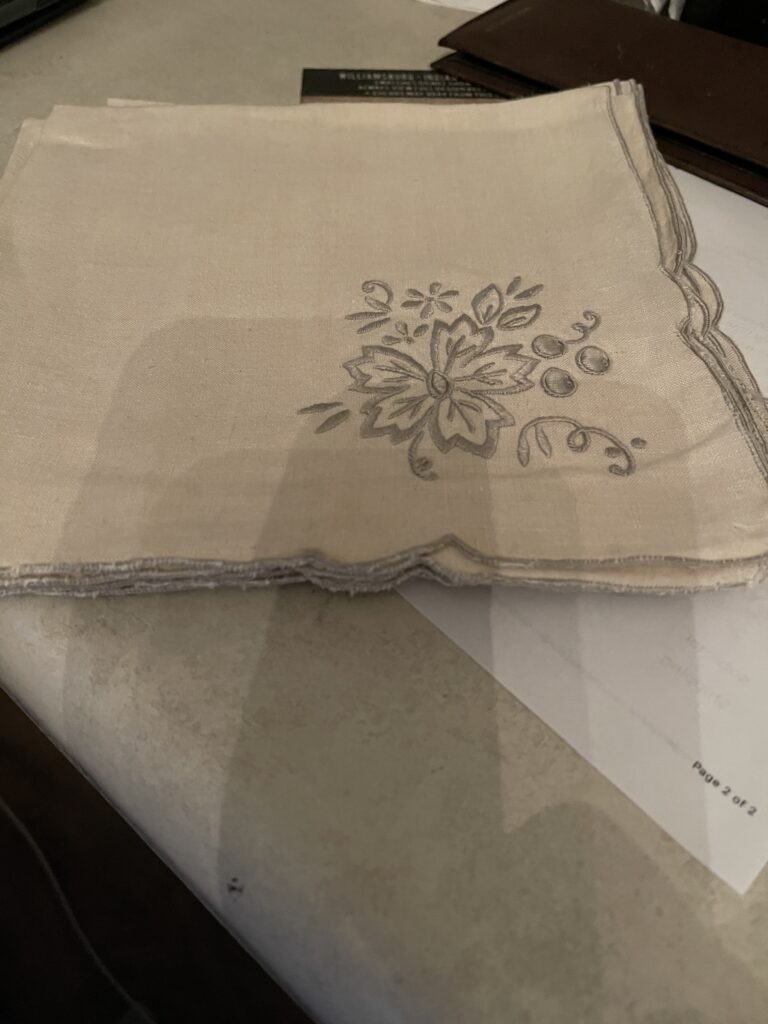
Using cream cotton restaurant linen napkins I found the weight of these great to work with. The tag on the napkins told me they came from Linens and Things. Remember them? The napkins I picked up at a flea market a few years ago they were still in their package. I think they were 4.00 for six. This is a great tip because sewing napkins is time consuming and napkins in every color or pattern are so readily available and cheap. Amazon is a great source but I recommend thrift shops. You can often find never used napkins, as I did yesterday at our ALO Thrift Shop.
Each napkin took 62 minutes to complete but, the only thing you have to do is change the thread, the embroidery module will do the work. Stay close, mishaps happen. Running out of bobbin thread is one. On my machine I can remove the bobbin for a refill without removing the embroidery module. Top thread can break. The worst thing is having part of your fabric flop over and get caught up in the design. This happened on an eggplant napkin but, I was able to salvage it. If a mistake happens you can work with the machine to get to a position where you can do a do over but, ripping out embroidery is almost impossible. Some of the stitches are so fine you can’t see them to rip.
I did make a mistake on the very last napkin. On the petals I did the first stitch out in aqua not gray. I was 1/3 of the way through when I realized what I had done so I just went with it and reversed the step and used the medium gray on top of the aqua instead of the other way around. All the other steps remained the same. You can’t tell unless you know. Which leads me to the number one tip.
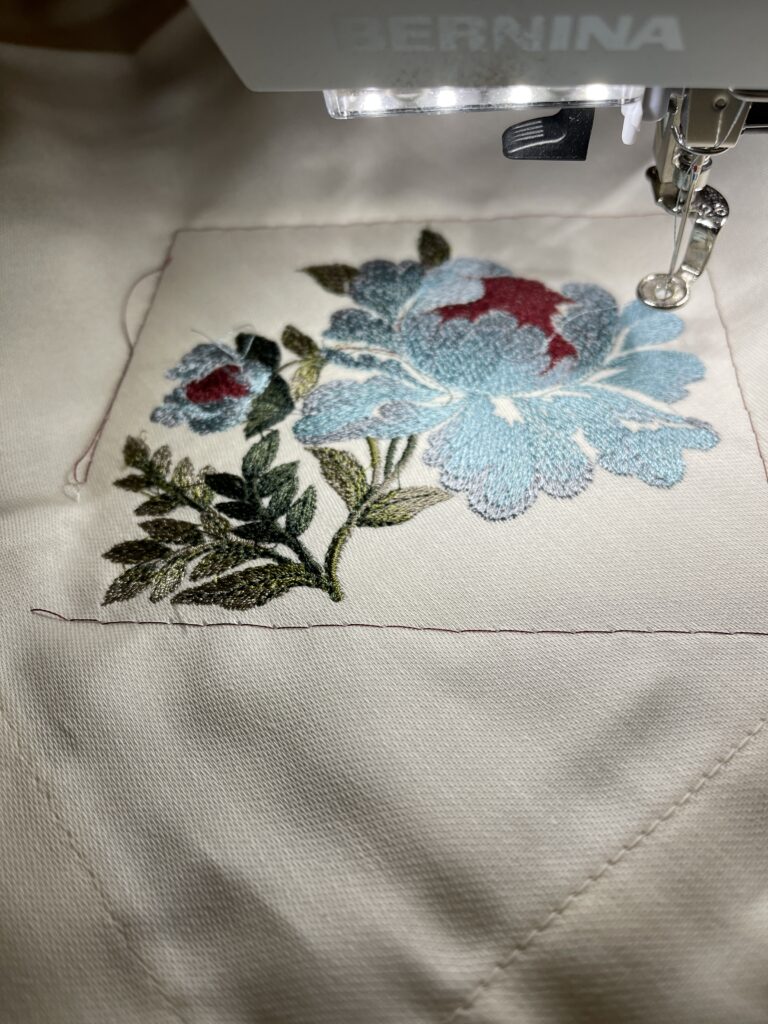
While stitching out your test pattern write down the order and the color # thread you are using. Step 1, Step 2 etc. You think you will remember but, if you are working on a pattern that has 15 steps I promise you, you won’t. And if you want to make more than one you need the bread crumbs that lead you to success.
I was able to make 2 napkins on Saturday because I was first auditioning the thread. I wanted to make sure I would be happy with the end result and it is impossible to know until you do that stitch out. On Sunday I got 4 done. Yes I will need to do 2 more but I am out of this particular napkin blank.
These napkins were so much fun to make and I can’t wait to use them in a table scape. For now here is a preview.
Let me know in comments what you think. Have you ever done machine embroidery. I’m a total novice so I would love to hear.
Thanks for stopping
Shelley
