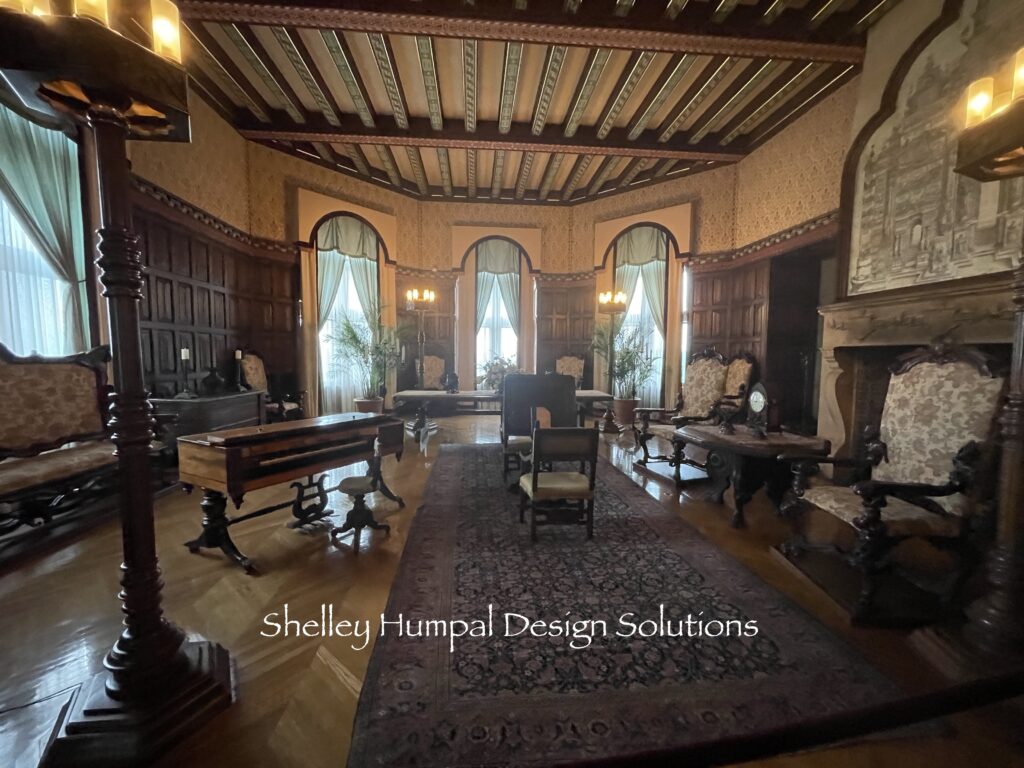
Let’s face it, window covering trends are like everything else, here today and gone tomorrow. There are so many options for treating a window, or not. Roman shades, drapery panels, side hangs, cornices, swags and jabots (well we haven’t seen those in a long time) but, trust me they’ll be back. Just look at the White House!!!
Today I want to talk about fabric window coverings. You know me, I love fabric and pattern. Gorgeous, and elaborate window coverings have emerged from my brain, and into my clients homes over the years. Most of those elaborate treatments are archived, in the many thousands of pictures taken with film!!! With the cost of fabric, the yards and yards required for any given treatment, hardware, fabrication and installation, it can easily run you in the $$$$$. Yes, potentially more than the cost of the sofa and chairs you intend to put into that room.
First let’s get some of the lingo straight.
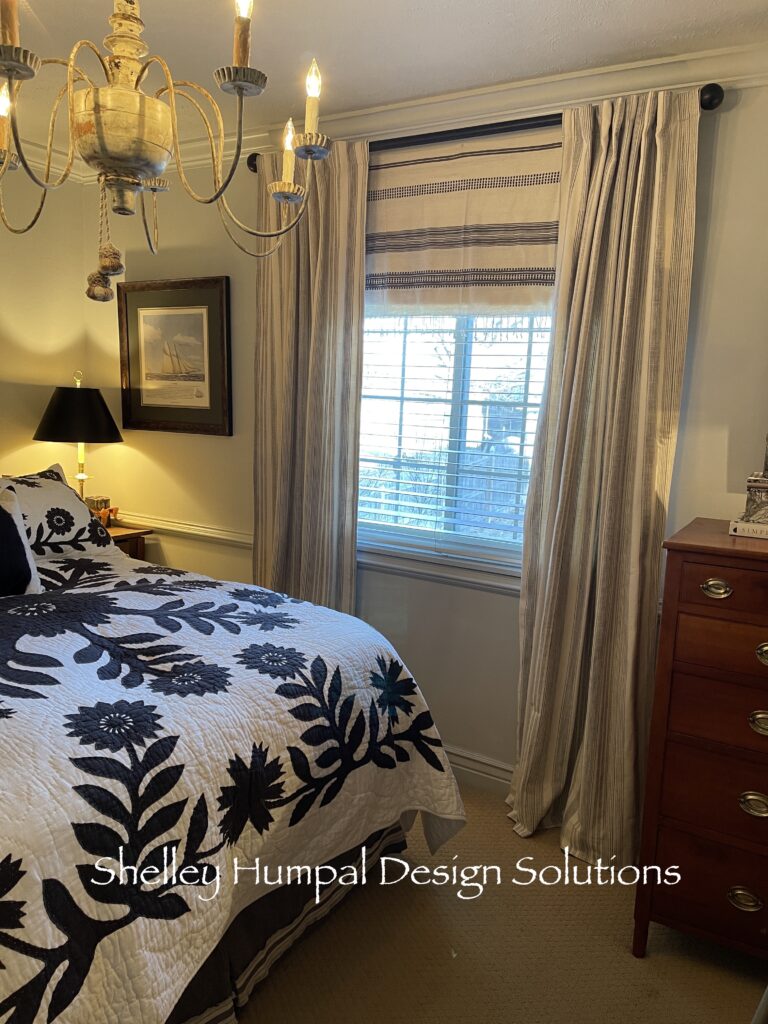
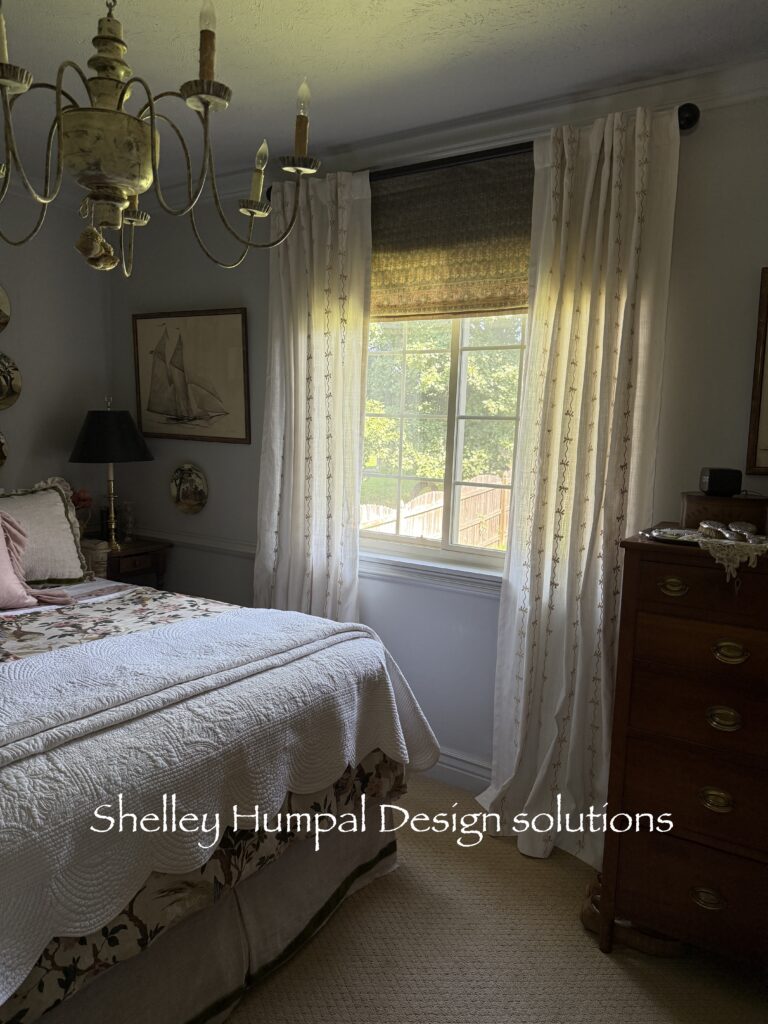
Ready Made is just what it implies. All the big box stores now carry Ready Made. From Walmart to Ballard Designs, Pottery Barn etc. These are usually flat panels that measure anywhere from 42-50″ for a single “width” or panel and anywhere from 63-120″ long. These can range in price from $$-$$$ depending on fiber content and whether they are lined or not. Most Ready Mades are made from synthetic or blended fibers in the $$ range, and cotton, linen, or silk in the $$$ range. These “Panels” will usually come with a rod pocket or tabs in the back so you can have a more controlled or tailored fullness without the hassle of pinch pleats. These can work well if you have a smaller window, and wish to do side hangs. My bedroom window is 45″ wide.
I extended the rod beyond the window so that I had as much glass exposure as possible, while still framing in the window. The rule of thumb is to take the width of your window to include the window casing and add 25% to accommodate “stack back”. My window is 45″ so technically the rod should measure 56″ bracket to bracket. This ratio works for both draw drapery or just side panels. With a draw drapery when the drapes are open you want panels to “stack” off the glass.
Made to Measure is another term that is bandied around. Made to measure is a cheaper alternative to custom but, they allow you to get the measurements you require, to complete your window treatment. There are many online sources on Etsy, and others that will do made to measure. Their selection of fabrics is more limited than custom, and often just solids. They will make them to your specifications, even give you a choice of header (top) style. There are many different pleat styles, and you can even choose the type of lining you would like. This is definitely a more costly alternative to ready made but, if you need a drape that opens and closes and you’re looking for something solid this could be a good choice for you. Keep in mind they are relying on you to give them the correct measurements.
Things you need to know before you place that order.
If you are doing a draw drape that you want to close be sure to add 12″ to the width you require for your treatment for something called overlap and return. Overlap refers to the area where the drape comes together in the center so it overlaps and no daylight will come thru (usually 4″). Return is the material that goes around the corner and “returns” from the front of the rod to the wall. Four inches on the right and left. If you have a double rod you want the returns to be 6″ on each side. In other words, overlap and return becomes 16″ total. Clear as mud? Bracket to bracket measurement is 100″ + 12″ for overlap and return =112”. Or 116″ for a double rod installation.
Your length depends on the type of rod you are going to use. Most people now use a decorative rod, there for you have to figure your length from the bottom of ring (not the eyelet where the hook goes) to the floor. I usually will add 1 1/2″-2″ to the length because I like just a little drag on the floor.
Rods should be hung either to the ceiling or just under the crown molding. The lower the drape the shorter the ceiling will feel. To me this is not up for negotiation. For years we hung at that standard 84″-86″ height for 8′ ceilings and it was just bad. As if an 8′ ceiling isn’t low enough! Yes there are exceptions for instance if you have a 20′ ceiling height but most of us aren’t there.
Made to measure doesn’t include drapery hardware or installation. It is just the drapes.
Of course Custom is going to be your top dollar alternative. The sky is the limit. Your fabric selection abundant, and the type of investment that can make a room. Nothing says sophisticated like a beautifully draped room. And nothing can destroy the look of a beautifully presented room more than a bad window treatment. Custom will come from a designer who has access to a workroom and include your hardware, and installation.
What you don’t want to do is hang multiple 42-50″ panels on 96″ window. When figuring for fullness you usually want to figure 2.5 times the area you are covering. Unless you are doing a sheer which should be 3 times the area. If you are just doing side hangs for a 96″ window 1 1/2 widths of fabric will usually be sufficient. What this means is one width of material is cut in half down the length and attached to the outside of a single panel. The other 1/2 is added to the other panel to create a pair. Requiring roughly 9 1/2 yards of material.
Now, if you have a 96″ window and you want the drapes to close that requires a lot more fabric. Adding for your “stack back” 96 divided by 4 = 24″. 24″+96″=120″. Your rod bracket to bracket should measure 120″. If your finished drape is 96″ long, you need to add 18″ for heading and hem to the length. 96″+18″=114″. You have to figure out how many “widths” of material you need to cover the area. 120×2.5 for your fullness =300″ divided by the width of the fabric. In most cases it will be 54″. 300 inches divided by 54=5 1/2 widths of material. But wait there’s more!!! We have to bump the “widths” up to six because you can’t order 1/2 width of material. Now you have to get your yardage count. You take the length figure 114″ times your “width” count which is 6. 114″x6=684″. Divide that by 36″ in a yard which gives you 19 yards of material. That is just for a solid fabric. Add in a pattern repeat and you can have potentially many more yard required. At an average cost of $100.00 a yard for material alone you understand why window coverings are so expensive. Then you have lining, fabrication, hardware, and installation on top of it. An investment to be sure.
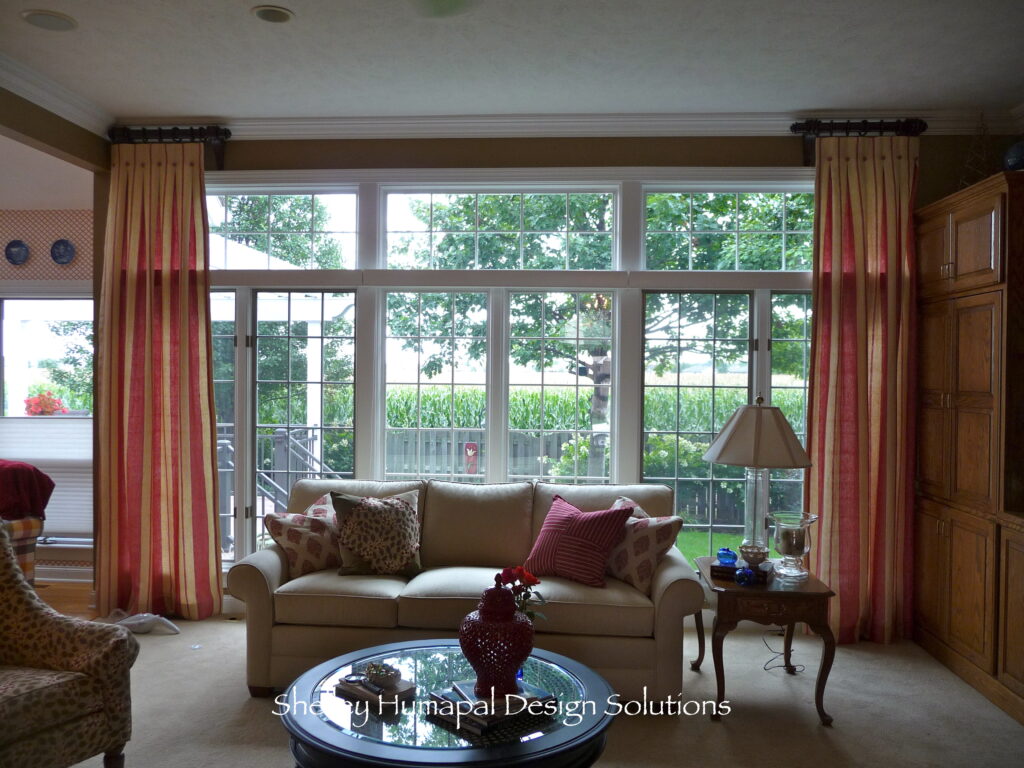
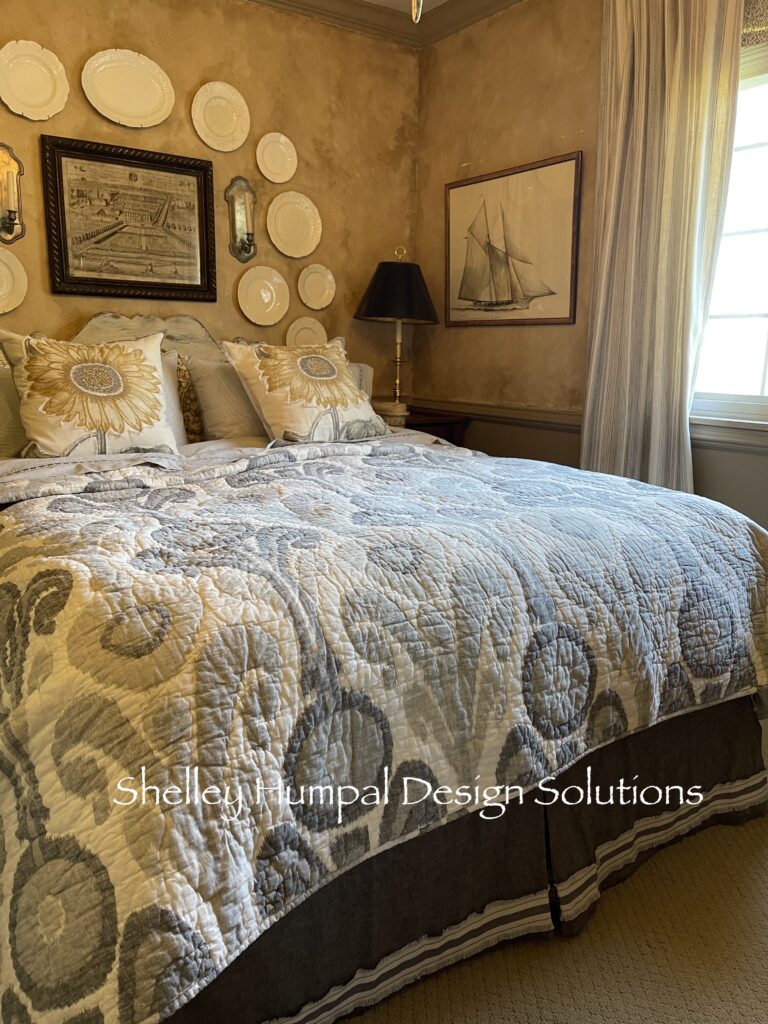
Consider this. Are your window coverings the main event? The focal point of the room. In many cases the answer is yes! Then it is worth the investment of going custom. This would be the one thing the entire room is designed around. Or are the window treatments a supporting player? If this is the case then perhaps a more subtle approach is in order and a place where you can potentially save money. In my case the window treatments are always a supporting player. I want the total package of the room, the antiques, the furniture, and accessories to play the music. The windows, yes they are important but, they are a supporting roll only.
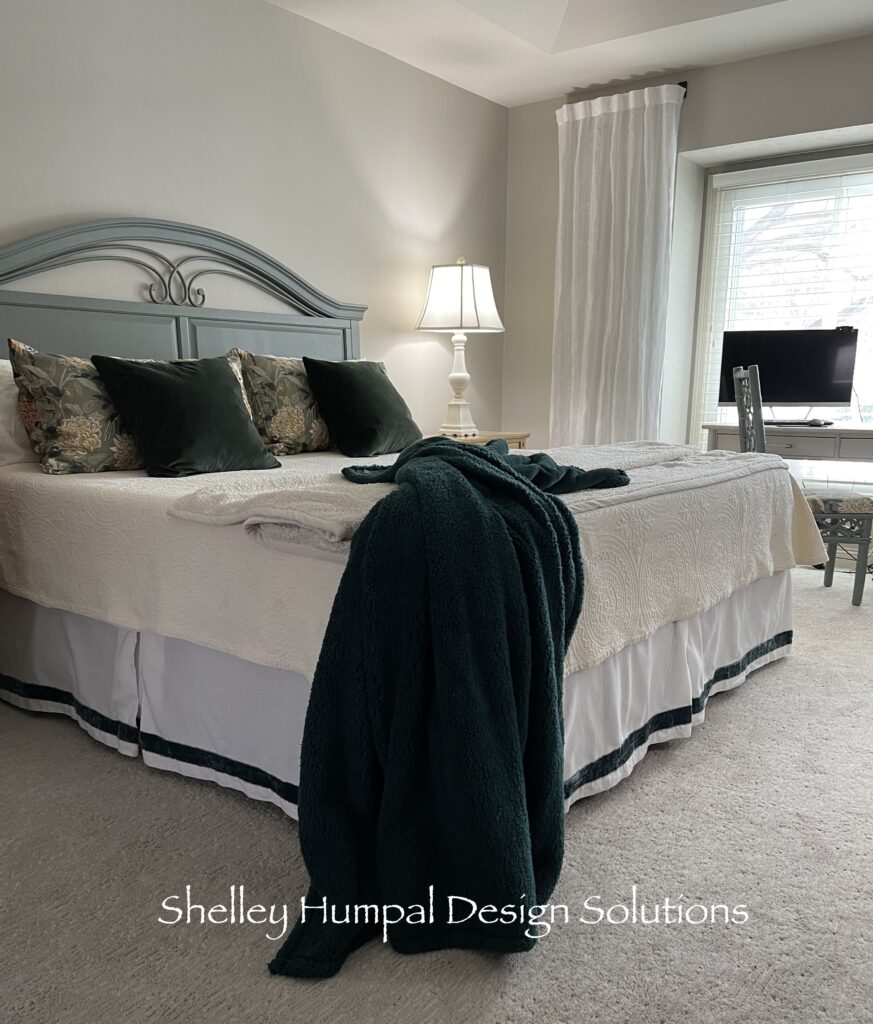
I have been looking for new curtains for my bedroom for a while now. I had Pottery Barn curtains in there and they were fine but, I have regrouped in that room and they never felt quite right. A heavy weight cotton with a thin black stripe just felt like too much in my small bedroom. I have been searching high and low for drapes. I knew I was looking for a simple linen that I could embellish if need be. The problem is ordering online is such a huge unknown. I am a touchy feely person and I want to know what I am getting. Everything I was seeing online just didn’t hit me. Either too plain, too heavy, too light weight, or just not interesting. Obviously I haven’t been in a hurry. I also didn’t want to spend a ton of money and everything I was seeing that I thought might work, was more than I wanted to spend. I also found that in order to keep the cost visibly low to the consumer, they are mostly packaging drapery by the panel. Not by the pair. So now that something you see that says 100.00 if you need a pair now it will cost you 200.00. Pretty sneaky if you ask me.
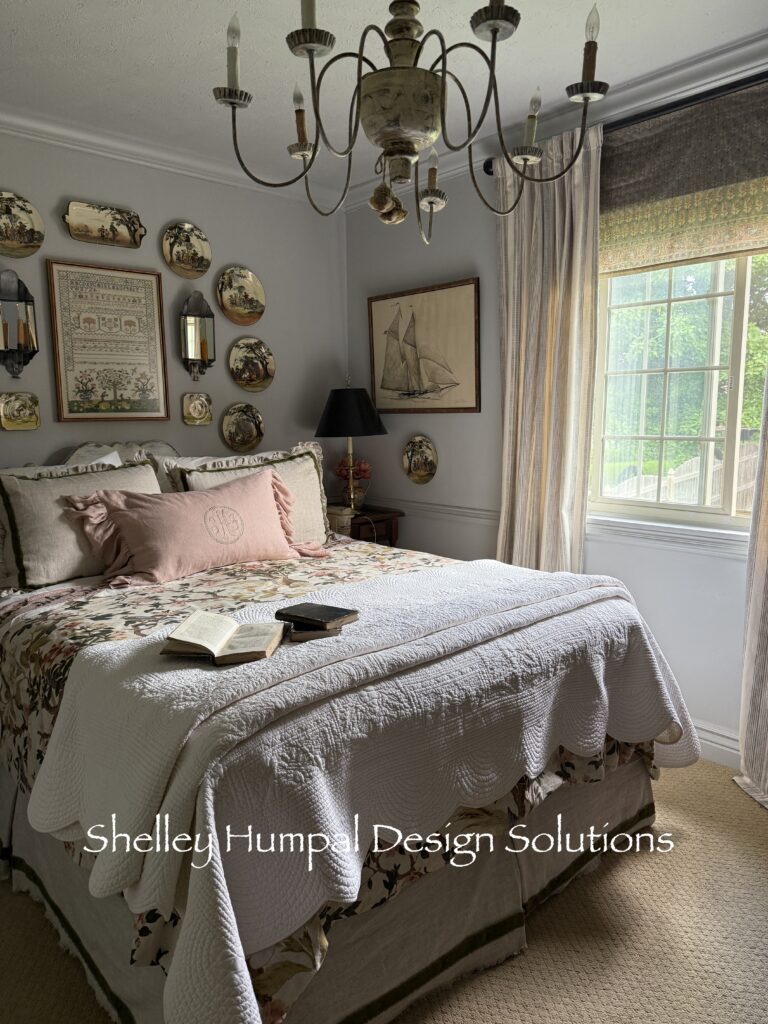
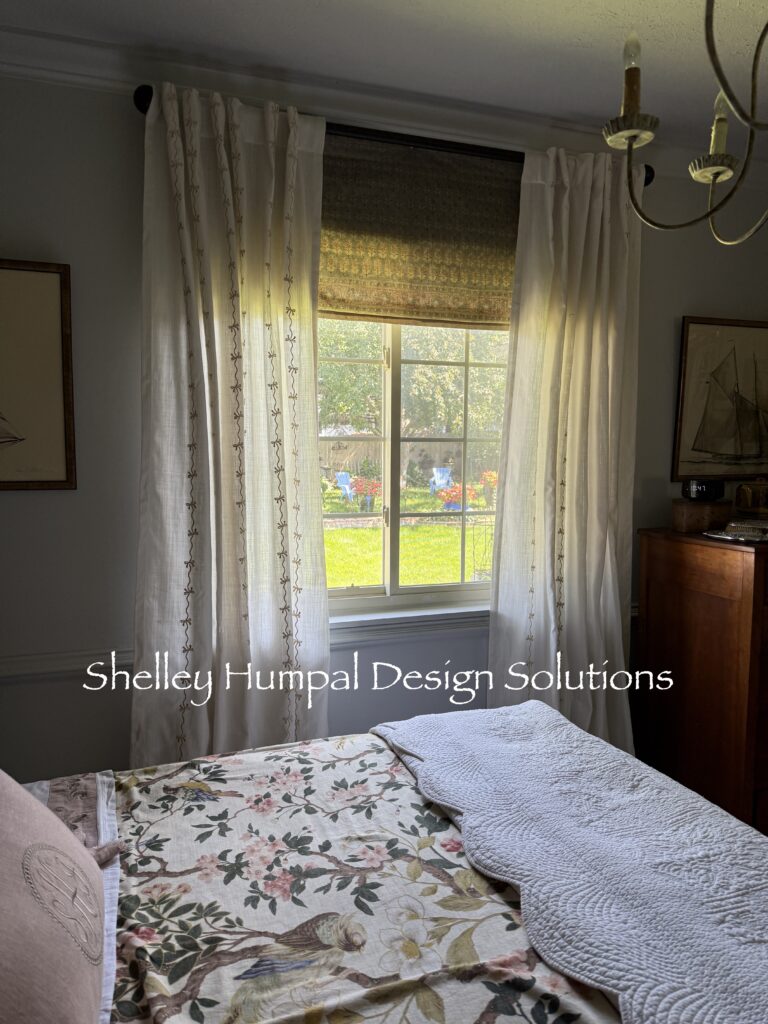
A couple of weeks ago for some reason I was surfing TJMAXX online. I have never done this, and I can’t even remember what took me there. I pushed on the drapery button, and there they were. What’s this! A pair of linen looking sheer curtains with embroidered wavy stripes. The wavy stripes turned out to be bows. Hmm, I can’t do bows. Can I do bows? Well that is definitely the “and then some” that I didn’t know I was looking for. The cream color seemed like it would work. I can’t do bows, that’s just too sweet! Can I? Then I looked at the price $49.00. That must be per panel. Nope for the pair. Seriously? These can’t be much. I hit the buy button. We’ll just see.
They arrived neatly folded onto a hanger and in a plastic bag. The length was 96″ so I knew with the crown molding in my bedroom I would have to hem them up a bit. After a quick placement on the rod to see if I liked them these tab back curtains were a winner. They are made of a course cotton, which gives them the linen look I was after. The wavy bow stripe is subtle enough, with just a hint of the extra something I was looking for. All I had to do was fold over the hem to get the right length, press them up and hang them. I wouldn’t have looked twice at these had they been 200.00 but for 49.00 they were worth the shot.
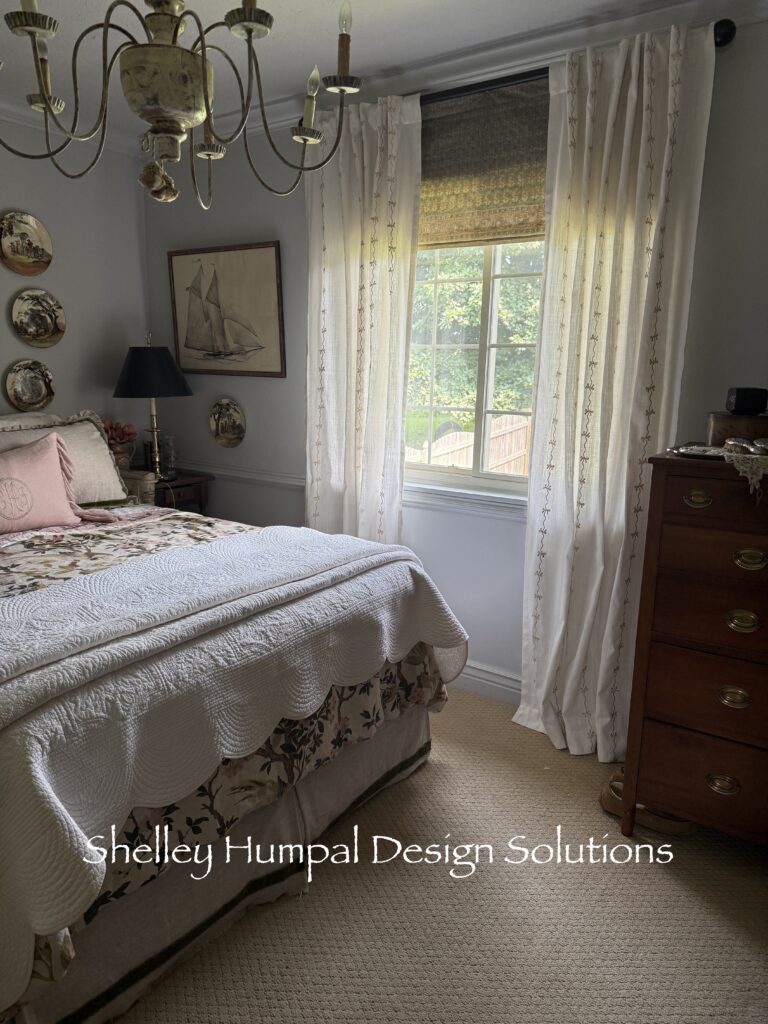
The next thing I addressed, was the fabric between the top of the window, and the crown molding. A couple of years ago I came across a block printed table cloth at Pottery Barn, that I liked with my PB duvet cover on a sale table. I brought it home and used the border part of the table cloth, to make an under valance. I was going to make a roman shade, which I may at some point still do, but for now this works. When I originally made this piece I didn’t line it, I just stuck it up there. It’s always bugged me, so I took it apart and lined it. This is such a simple thing to do it probably took me more time to rip it apart than to add the lining! I probably should have done black out lining but, it is certainly better than it was. This little reverse valance is just a whisper and not a shout. Helps to cover the blank space between the window and the crown, and adds a bit of interest to the window.
What do you think? Would you introduce bows into your primary bedroom?
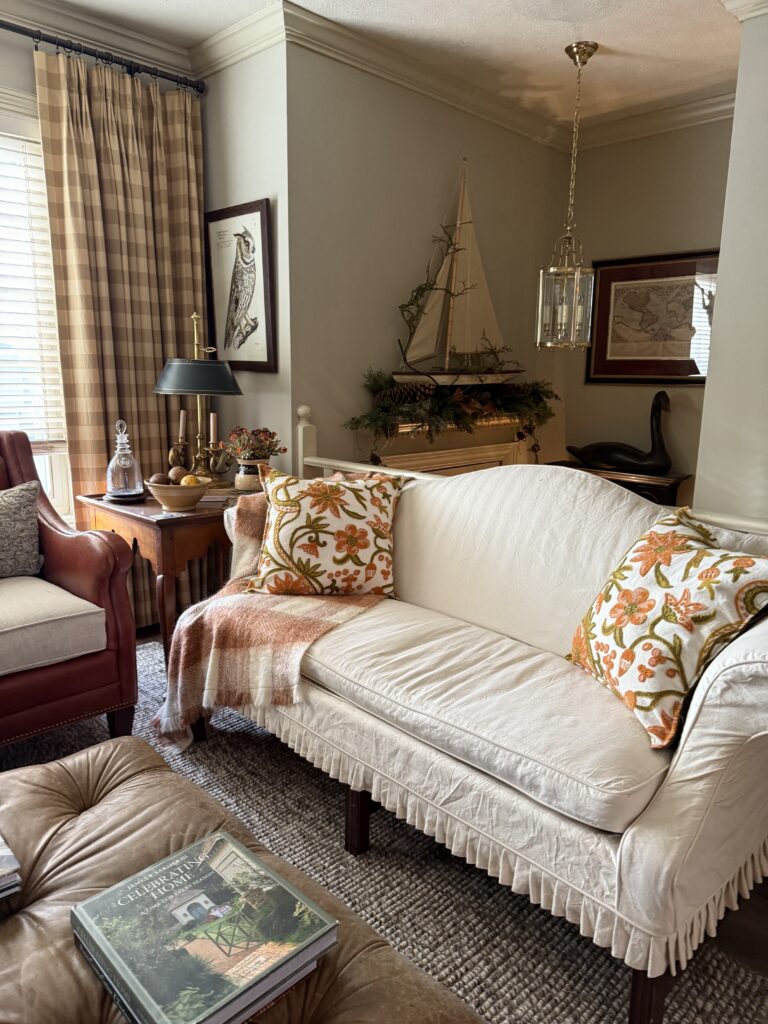
There are so many ways of skinning a cat when it comes to decking out your home and making it uniquely your own. A plain pair of drapes can be dressed up with grosgrain ribbon on the leading edge of the drape and along the bottom hem. There are double stick tapes now designed to work on fabric so you don’t even have to sew. Tassel fringes, or decorative tapes though more expensive can be purchased from online shops, and added to help take something simple to the next level. I once add a cheap tape from Hobby Lobby to a wider piece of frayed linen fabric, that I had in my stash, to create a border on a dust ruffle I had mad.
The texture is fun and playful.
I hope this helps you decide whether or not to go custom in your own home, and gives you an understanding of what is required when planning for a window covering. There are times for each option.
My sister and I are headed up to Minnesota tomorrow. We are visiting the town where I was born Redwood Falls, and on up to Brainerd to spend a few days with my sisters friend on the lake. We will then spend a few days in Minneapolis. The city has changed so much since I lived there, I think we will play tourist.
Thanks for stopping
Shelley
Hey Shelly, I like the little bows on the drapes. The fact that they are alternating right side up & upside down adds a little more interest to them as they cascade to the floor! Good Job! Kris
Thanks Kris: They work and are much better than what was there, besides the price was right!