Are you a fall refresh person? Do you feel the need to fall in line, with all the retailers out there who tell you, you must buy into the new and improved whatever. I find it exhausting, to try to keep up, with all the new and improved out there, so I say NO. After all it is still summer. Time left to weed the garden, mow the grass, and be bitten by mosquitos!
The mosquitos this year have been relentless. It doesn’t seem to matter the time of day, they are out with a vengeance. An early evening foray into my garden to water one night last week, netted me about 15 bites. I ran into the house. Well, to be truthful I don’t run anymore, I might fall flat on my face! No amount of yard guard seems to stem the flow. It’s really too bad because some of our evenings have been amazing this summer.
Oh but this post is about pumpkins. I’m working on a very special project. I have been at this for a couple of months. I can unveil this project in about 2 and 1/2 weeks. Ok I may need some sleep immediately following. But what a privilege it has been.
Pumpkins, oh yes. Not the real kind, for this project they had to be faux. A trip to Hobby Lobby netted me 5 pumpkins just the right size. Not too small and not too large. They had to be white for my project. Coming home with pumpkins in tow I brought them into the house and put them in place and I immediately knew I had made the right choice. However the white was just a bit too bright and the stem needed to be removed. I will say for faux pumpkins the stems weren’t terrible but, they had to go.
Upstairs in my office I was looking thru my bag of tricks. What do I have that can dirty up these pumpkins? I didn’t want to wax them and I didn’t want to paint them. I got out my distress spray inks and with several colors at hand I had my way with these pumpkins. The results were less than satisfactory. Distress Ink is designed for porous surfaces which these were not. I tried the heat gun, air drying for about 2 weeks, and in the end a spritz of water returned my lovely pumpkins back to white! I knew better, but sometimes you just have to be stupid and try something.
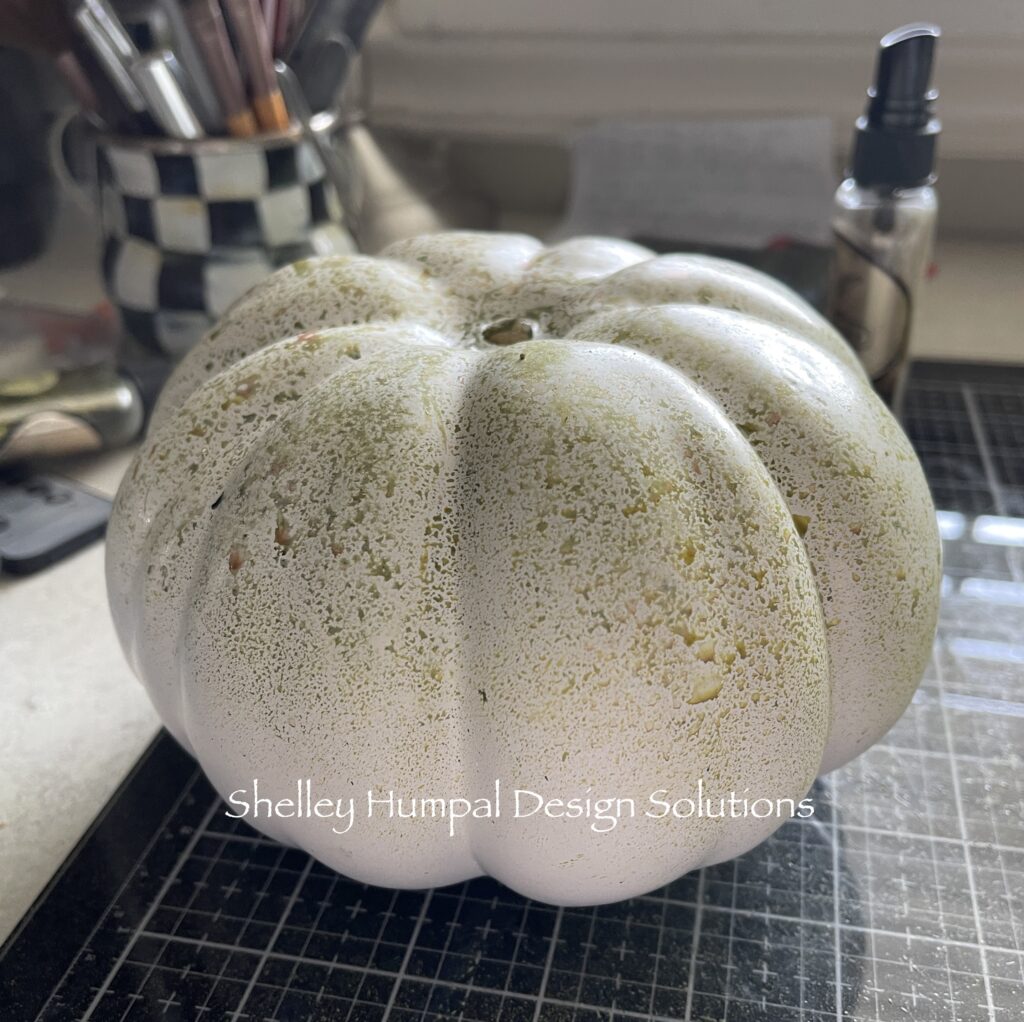
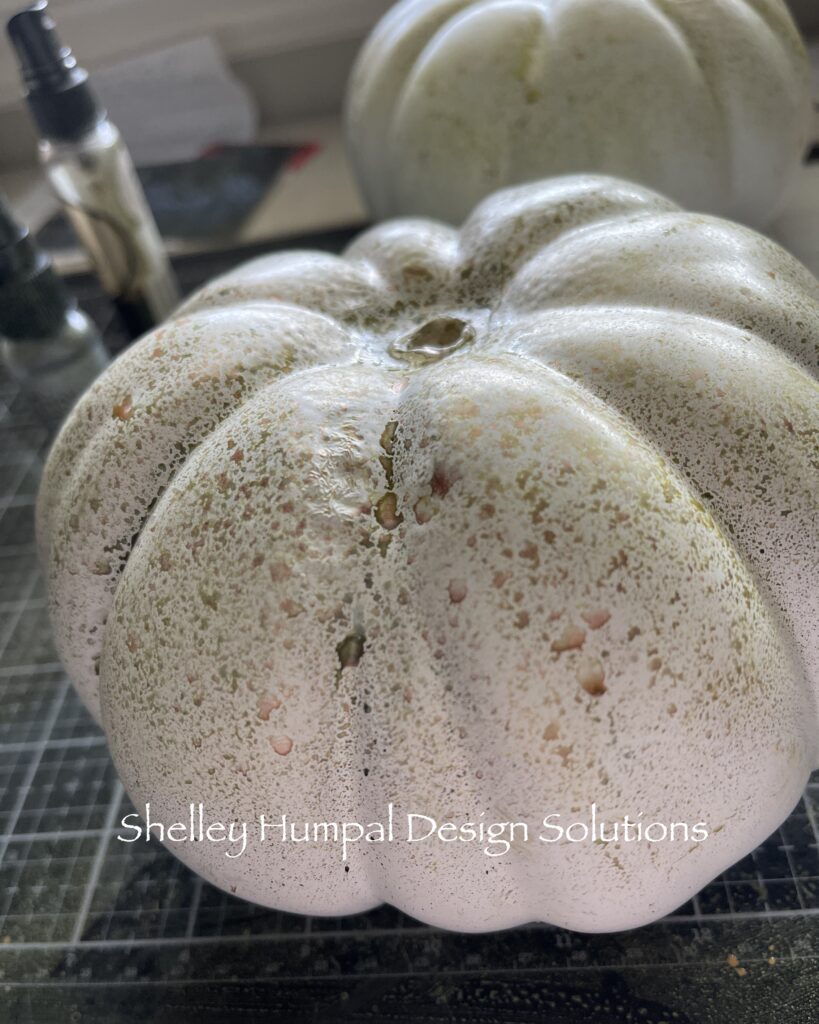
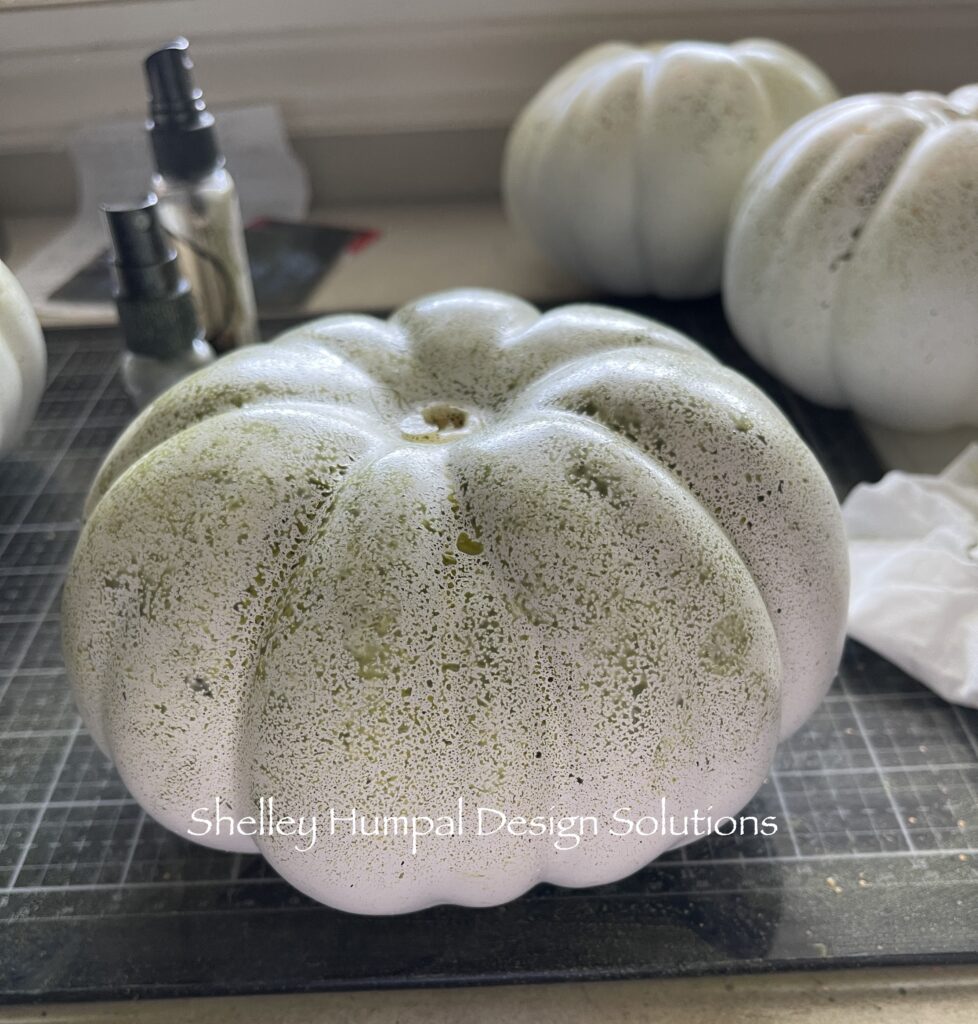
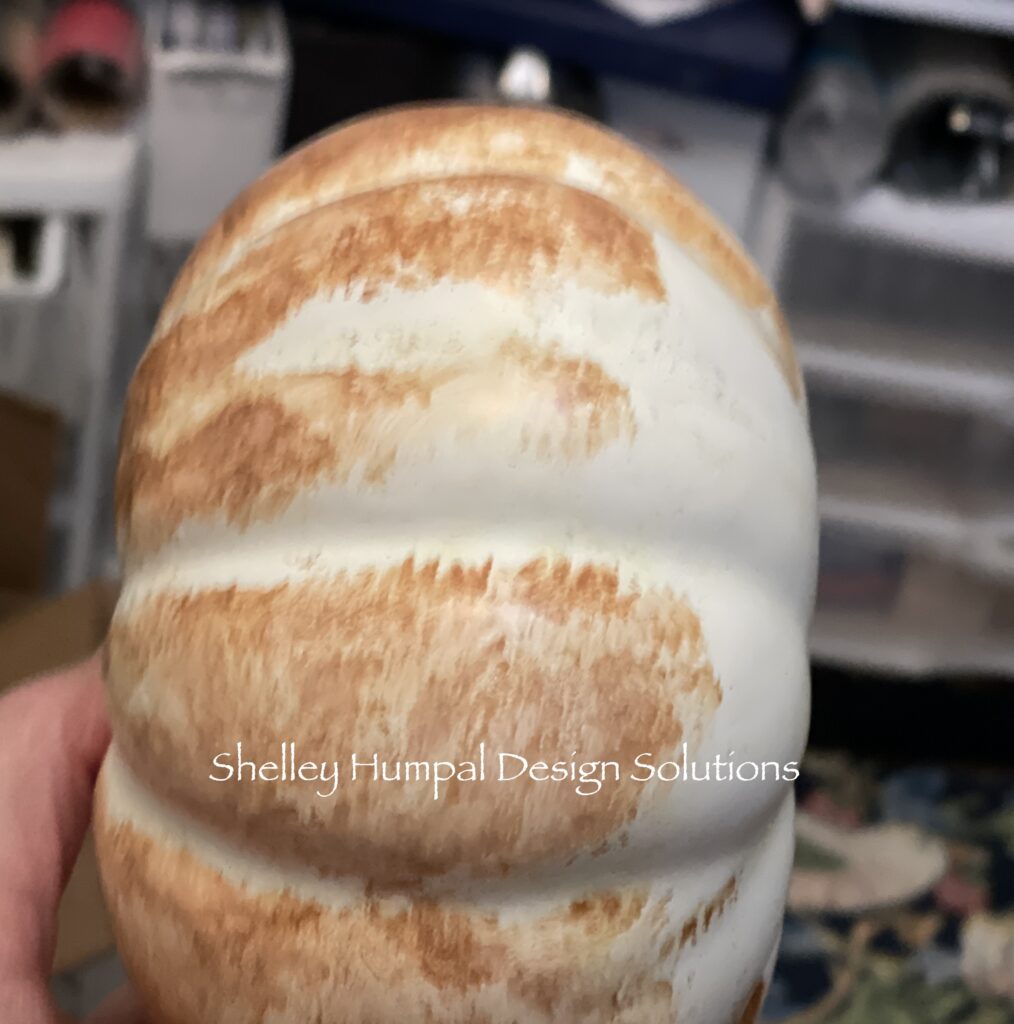
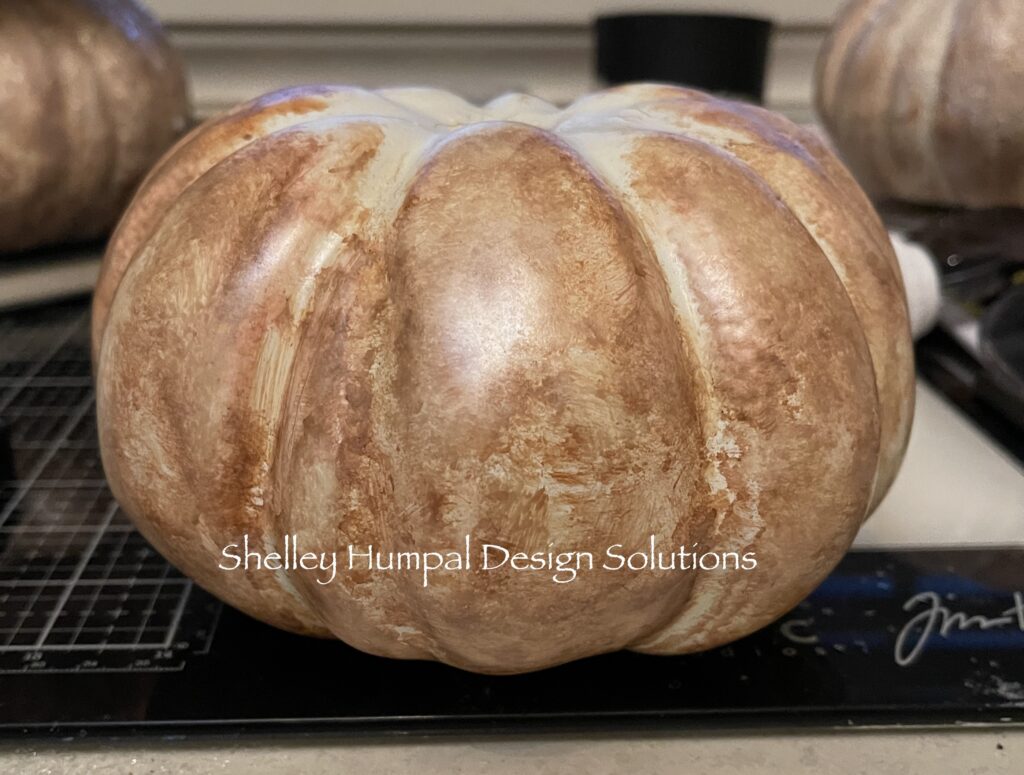
After that fail I headed to the basket of alcohol ink. Alcohol ink is designed for slick surfaces. It is a great product that can make really interesting patterns and colorations. Applied with a small felt pad on an applicator, you squeeze a few drops of your color or a combination of colors onto the applicator. You can use as many colors as you like, and you can get fabulous results with just a drop or two. The next step is to add Alcohol Blending Solution onto your felt pad causing the ink to blend and bleed. You never know what effect you’re going to get. You have to embrace the imperfections. My natural colors that I had on hand were Latte, Caramel, and Pearl. I little dab will do you. For the whole pumpkin a lot of dabs were needed!
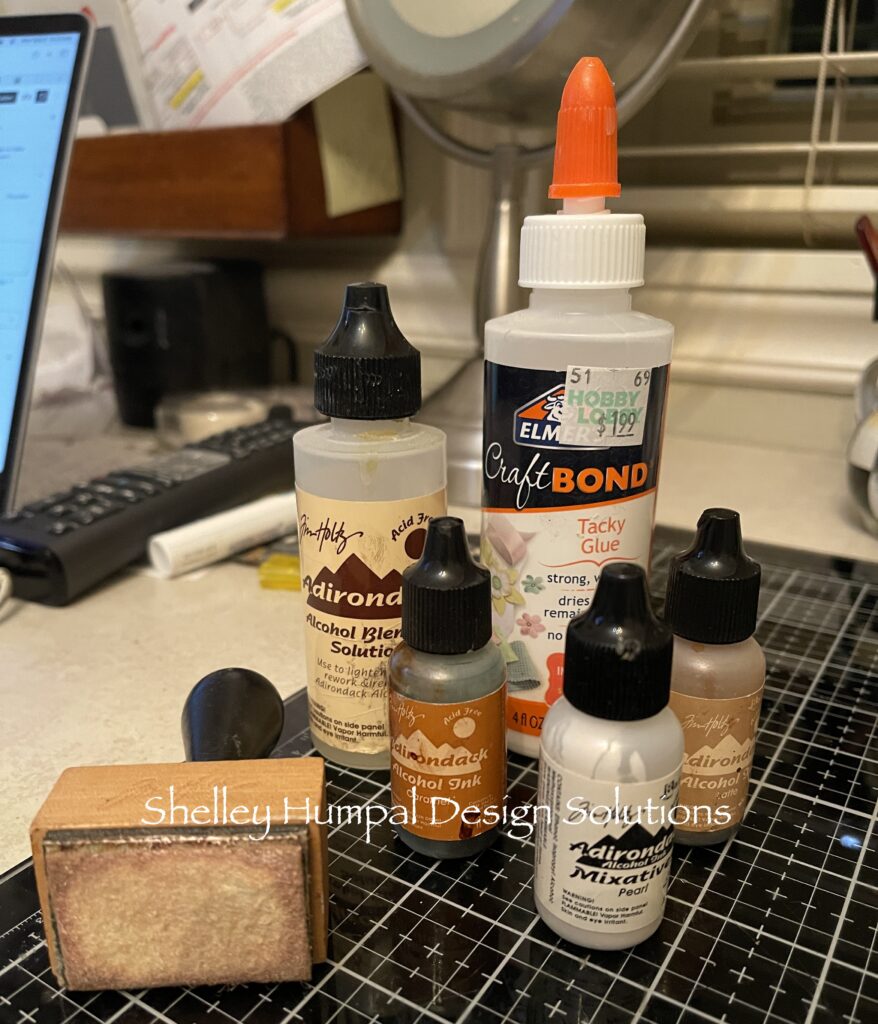
Once I got one done I knew this was going to work. The ink wasn’t going to leave the pumpkin, but of course now my pumpkins were more orange than white. Hmm!!! I liked the more mottled look of it but I felt like they needed to be lighter. Out came the Pearl Mixatives Ink. Using the same procedure I applied it to the pumpkins and I came up with a more Latte’ color. Ok this is going to be fine. After completing all 5 I let them simmer for about a week. They were almost done.
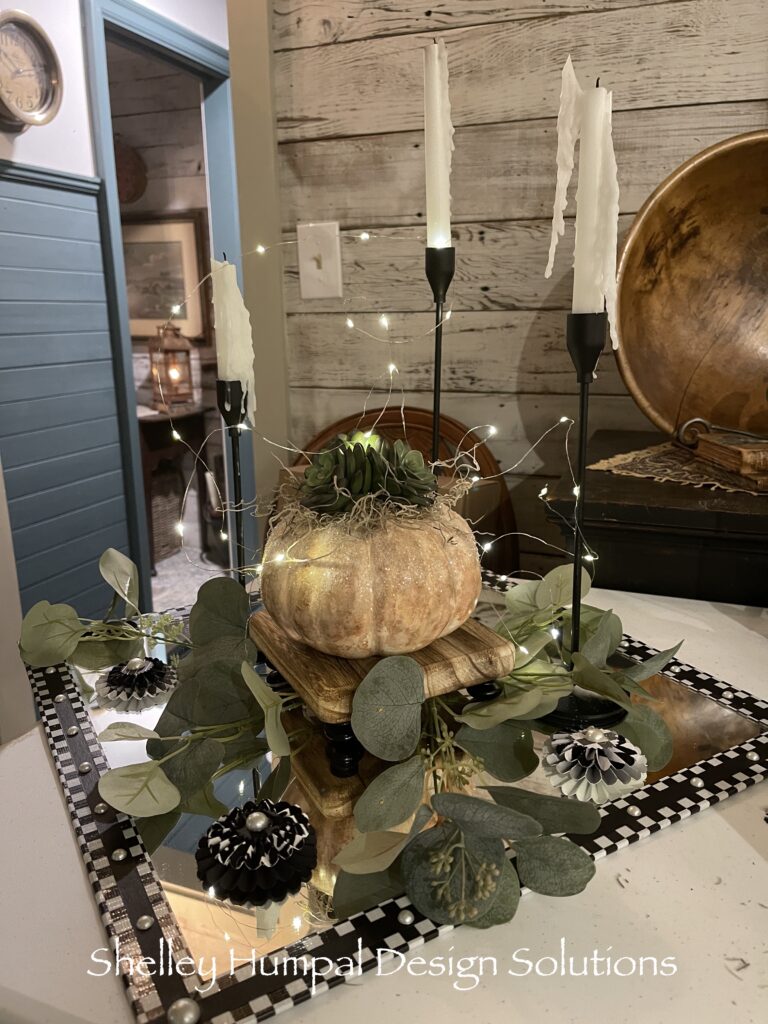
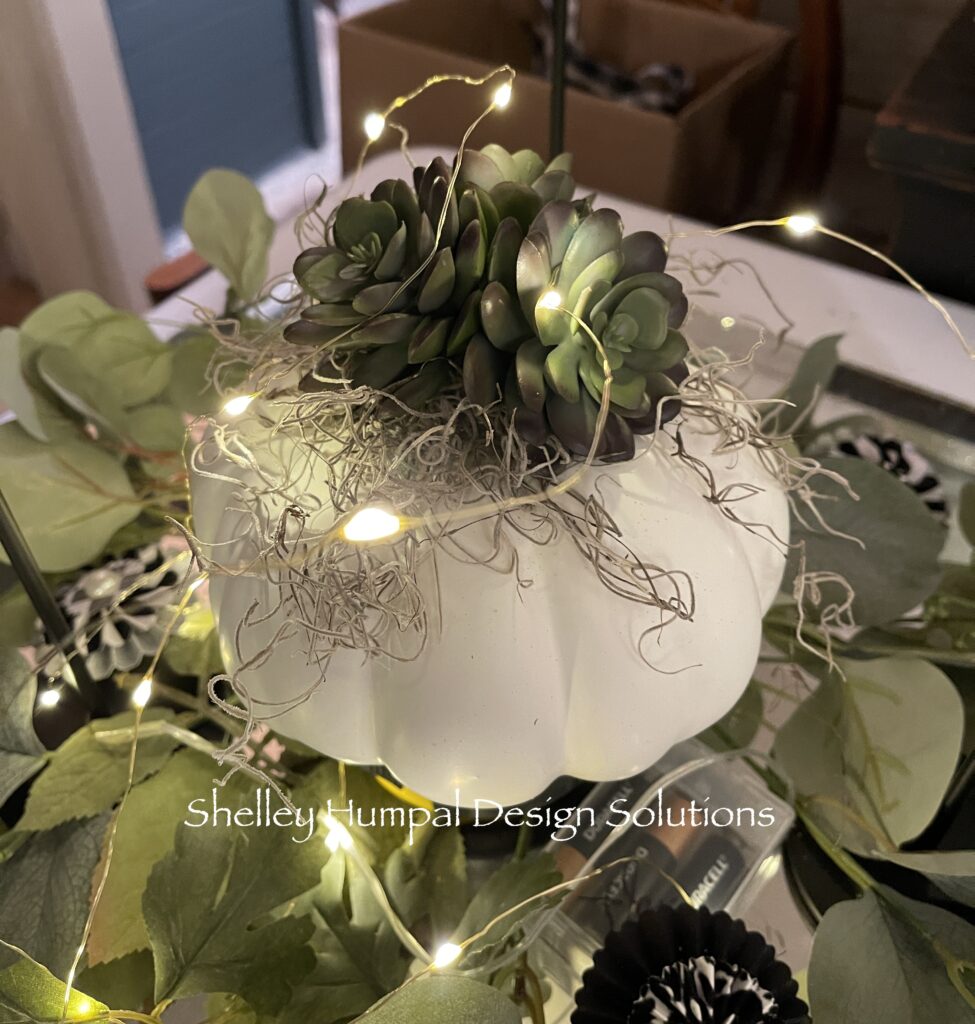
I knew what I was doing with the top without the stem but, I didn’t want to attach the top until I was sure the color was good. They just needed something more. A bit of sparkle perhaps? My Diamond Dust was staring me in the face, and I thought maybe just a bit towards the upper half of the pumpkin. That kissed by sugar look.
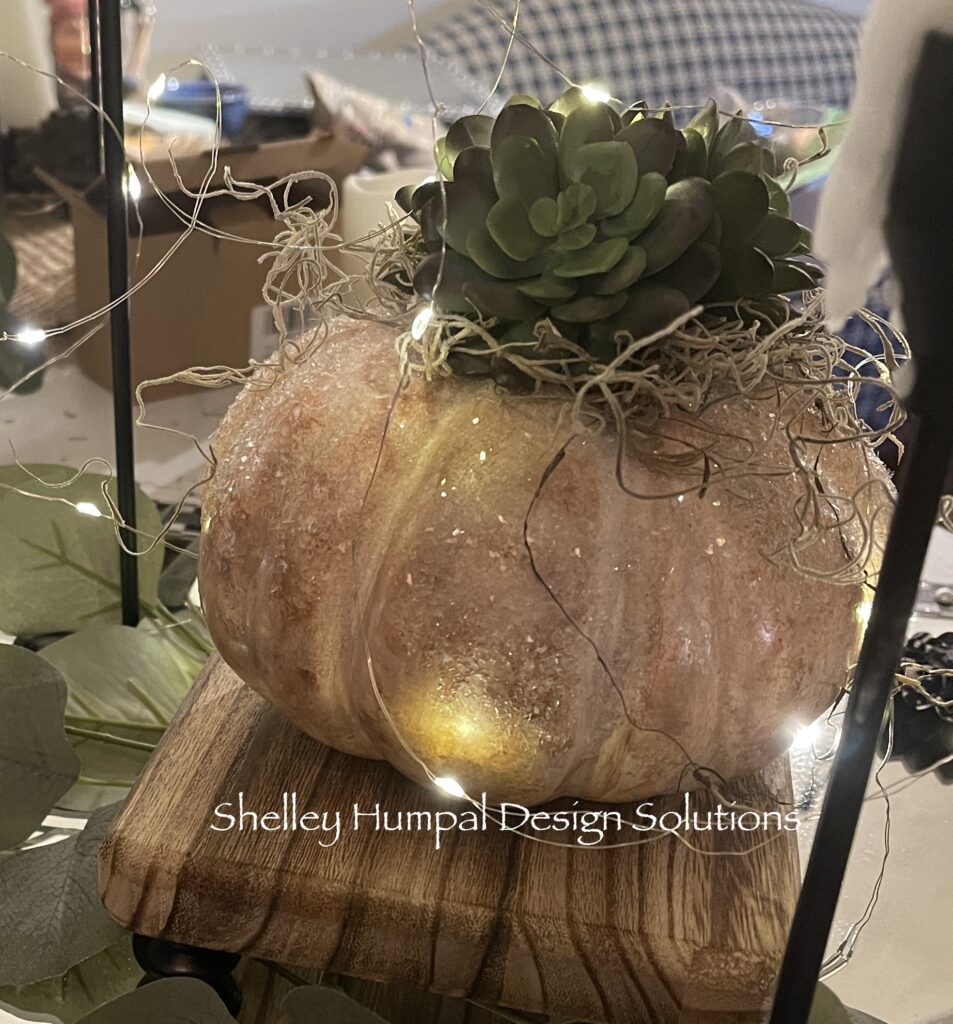
I watered down some tacky glue and brushed it on the pumpkin with no rhyme or reason, and that was the ticket. Just enough for these very special pumpkins. A bit of Spanish moss for texture and a faux succulent to top it off.
Until next time
Thanks for stopping
Shelley